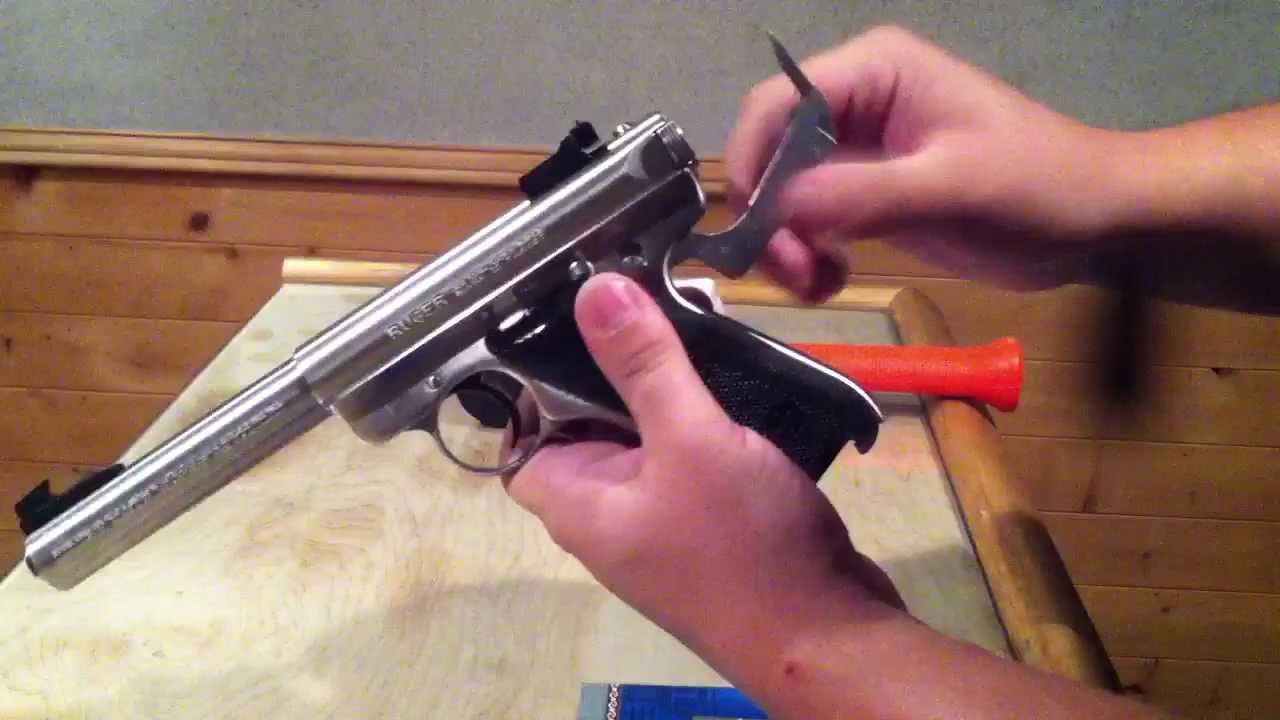

Ruger Mark II Disassembly: A Comprehensive Guide for Gun Owners
The Ruger Mark II is a popular and reliable .22 caliber pistol known for its accuracy and durability. However, like any firearm, regular cleaning and maintenance are essential for optimal performance. A crucial aspect of this maintenance is understanding how to properly disassemble and reassemble your Ruger Mark II. This comprehensive guide will provide a step-by-step walkthrough of the Ruger Mark II disassembly process, offering valuable insights and tips for both novice and experienced gun owners.
Whether you’re a seasoned shooter or a new firearm enthusiast, mastering the Ruger Mark II disassembly procedure is a vital skill. This guide aims to equip you with the knowledge and confidence to perform routine maintenance, troubleshoot issues, and keep your Ruger Mark II in top condition. Remember, safety is paramount. Always ensure your firearm is unloaded and pointed in a safe direction before beginning any disassembly or maintenance.
Safety First: Preparing for Disassembly
Before you even think about touching your Ruger Mark II, safety must be your top priority. This isn’t just a suggestion; it’s a non-negotiable requirement. Neglecting safety can lead to accidental discharge or damage to your firearm. Here’s a checklist to ensure a safe disassembly process:
- Unload the Firearm: Remove the magazine and ensure the chamber is empty. Visually inspect the chamber and magazine well to confirm there are no rounds present.
- Safe Direction: Point the Ruger Mark II in a safe direction, away from yourself and others. A safe direction is one where, in the event of an accidental discharge, no one would be injured and no property would be damaged.
- Clear Workspace: Work in a well-lit and uncluttered area. This will help you see all the parts clearly and prevent losing any small components.
- Review the Manual: Consult your Ruger Mark II owner’s manual. It provides specific instructions and diagrams for your particular model.
- Eye Protection: Wear safety glasses to protect your eyes from any potential flying debris.
Step-by-Step Ruger Mark II Disassembly Guide
Now that you’ve taken the necessary safety precautions, let’s dive into the Ruger Mark II disassembly process. This guide will break down the procedure into manageable steps, making it easier to follow along.
Field Stripping the Ruger Mark II
Field stripping is the basic level of Ruger Mark II disassembly required for routine cleaning and maintenance. It involves separating the major components of the pistol.
- Remove the Magazine: Press the magazine release button located on the left side of the grip frame.
- Lock the Bolt Back: Pull the bolt back and engage the bolt stop.
- Verify the Firearm is Unloaded: Visually inspect the chamber to ensure it’s empty.
- Loosen the Mainspring Housing Latch: Locate the mainspring housing latch at the rear of the grip frame. Push it in and down to release the mainspring housing.
- Remove the Mainspring Housing: Pull the mainspring housing down and out of the grip frame. This may require a bit of force.
- Remove the Bolt: With the mainspring housing removed, the bolt can now be pulled back and out of the receiver.
- Separate the Upper Receiver: The upper receiver, which includes the barrel and sights, can now be separated from the grip frame.
Advanced Disassembly (Optional)
While field stripping is sufficient for most cleaning and maintenance tasks, you may occasionally need to perform a more advanced Ruger Mark II disassembly to address specific issues or for a more thorough cleaning. This involves disassembling the bolt assembly and the upper receiver.
Disassembling the Bolt Assembly
Disassembling the bolt assembly requires caution as it contains several small parts that can be easily lost. It’s recommended to have a parts tray or container to keep these parts organized.
- Remove the Firing Pin: Use a punch or small tool to push the firing pin stop pin out of the bolt.
- Remove the Firing Pin and Firing Pin Spring: Once the firing pin stop pin is removed, the firing pin and firing pin spring can be extracted from the bolt.
- Remove the Extractor: Use a punch or small tool to push the extractor pin out of the bolt.
- Remove the Extractor and Extractor Spring: Once the extractor pin is removed, the extractor and extractor spring can be extracted from the bolt.
Disassembling the Upper Receiver
Disassembling the upper receiver is generally not necessary unless you need to replace the barrel or sights. This procedure requires specialized tools and should only be performed by a qualified gunsmith.
Reassembly: Putting Your Ruger Mark II Back Together
Once you’ve completed the necessary cleaning or maintenance, it’s time to reassemble your Ruger Mark II. Reassembly is essentially the reverse of the disassembly process. However, it’s crucial to pay attention to detail and ensure all parts are properly aligned and secured.
Reassembling the Bolt Assembly
- Install the Extractor and Extractor Spring: Insert the extractor spring into the bolt, followed by the extractor. Align the extractor pin hole and insert the extractor pin.
- Install the Firing Pin and Firing Pin Spring: Insert the firing pin spring into the bolt, followed by the firing pin. Align the firing pin stop pin hole and insert the firing pin stop pin.
Reassembling the Upper Receiver
If you disassembled the upper receiver, reassemble it according to the manufacturer’s instructions. This may involve using specialized tools and techniques.
Reassembling the Pistol
- Attach the Upper Receiver: Align the upper receiver with the grip frame and slide it into place.
- Insert the Bolt: Insert the bolt into the receiver, ensuring it’s properly aligned.
- Install the Mainspring Housing: Align the mainspring housing with the grip frame and push it up into place until the mainspring housing latch clicks into position.
- Verify Functionality: Cycle the action several times to ensure the pistol functions properly. Check the trigger pull, safety, and magazine release.
Troubleshooting Common Issues
Even with careful disassembly and reassembly, you may encounter some common issues. Here are a few troubleshooting tips:
- Difficulty Removing the Mainspring Housing: The mainspring housing can be tight. Use a small punch or tool to gently push the latch while pulling down on the housing.
- Bolt Not Cycling Properly: Ensure the bolt is properly aligned and that the mainspring housing is fully seated. Check for any obstructions in the receiver.
- Failure to Extract: Inspect the extractor and extractor spring for damage or wear. Replace if necessary.
- Failure to Eject: Inspect the ejector for damage or wear. Ensure the ejector is properly positioned.
Cleaning and Maintenance Tips
Regular cleaning and maintenance are crucial for keeping your Ruger Mark II in top condition. Here are a few tips:
- Clean After Each Use: Clean your pistol after each shooting session to remove powder residue and debris.
- Use Quality Cleaning Products: Use cleaning solvents and lubricants specifically designed for firearms.
- Lubricate Moving Parts: Lubricate all moving parts, such as the bolt, trigger, and sear, with a light coat of oil.
- Inspect Regularly: Regularly inspect your pistol for signs of wear or damage. Replace any worn or damaged parts immediately.
Conclusion: Mastering Your Ruger Mark II
Understanding the Ruger Mark II disassembly and reassembly process is essential for any owner of this reliable firearm. By following the steps outlined in this guide and prioritizing safety, you can confidently perform routine maintenance, troubleshoot issues, and keep your Ruger Mark II functioning flawlessly for years to come. Remember to always consult your owner’s manual and seek professional assistance if you’re unsure about any aspect of the disassembly or reassembly process. The Ruger Mark II is a great pistol, and with proper care, it will provide years of enjoyment. [See also: Ruger Mark IV Disassembly Guide] [See also: Best .22 Pistols for Target Shooting]

