
Pipe Leaking Under Sink: A Comprehensive Guide to Identification and Repair
Discovering a pipe leaking under sink is a common household problem that can quickly escalate into a major headache if not addressed promptly. This guide provides a comprehensive overview of how to identify the source of a pipe leaking under sink, understand the potential causes, and implement effective repair strategies. Ignoring a pipe leaking under sink can lead to water damage, mold growth, and increased water bills. Therefore, it’s crucial to act swiftly and decisively.
Identifying the Source of the Leak
The first step in addressing a pipe leaking under sink is to pinpoint the exact location of the leak. This may seem straightforward, but water can travel, making the source less obvious. Here’s a systematic approach:
- Visual Inspection: Carefully examine all visible pipes, connections, and fittings under the sink. Look for drips, wet spots, or signs of corrosion.
- Dry and Observe: Thoroughly dry all surfaces under the sink with a clean cloth. Then, watch closely for where the water reappears. This can help isolate the source of the pipe leaking under sink.
- Check Connections: Pay close attention to where pipes connect. These are often the weakest points and common sources of leaks.
- Feel for Moisture: Run your hand along the pipes, especially on the underside, to feel for any moisture that might not be immediately visible.
Common Causes of a Pipe Leaking Under Sink
Understanding the potential causes of a pipe leaking under sink can help you diagnose the problem and choose the appropriate repair method. Here are some common culprits:
- Loose Connections: Over time, vibrations and temperature changes can cause connections to loosen.
- Corrosion: Old pipes, especially those made of metal, can corrode, leading to leaks.
- Damaged Washers and O-Rings: These small rubber or plastic components provide a watertight seal. They can deteriorate over time, causing leaks.
- Clogged Drain: A clogged drain can cause pressure to build up in the pipes, leading to leaks.
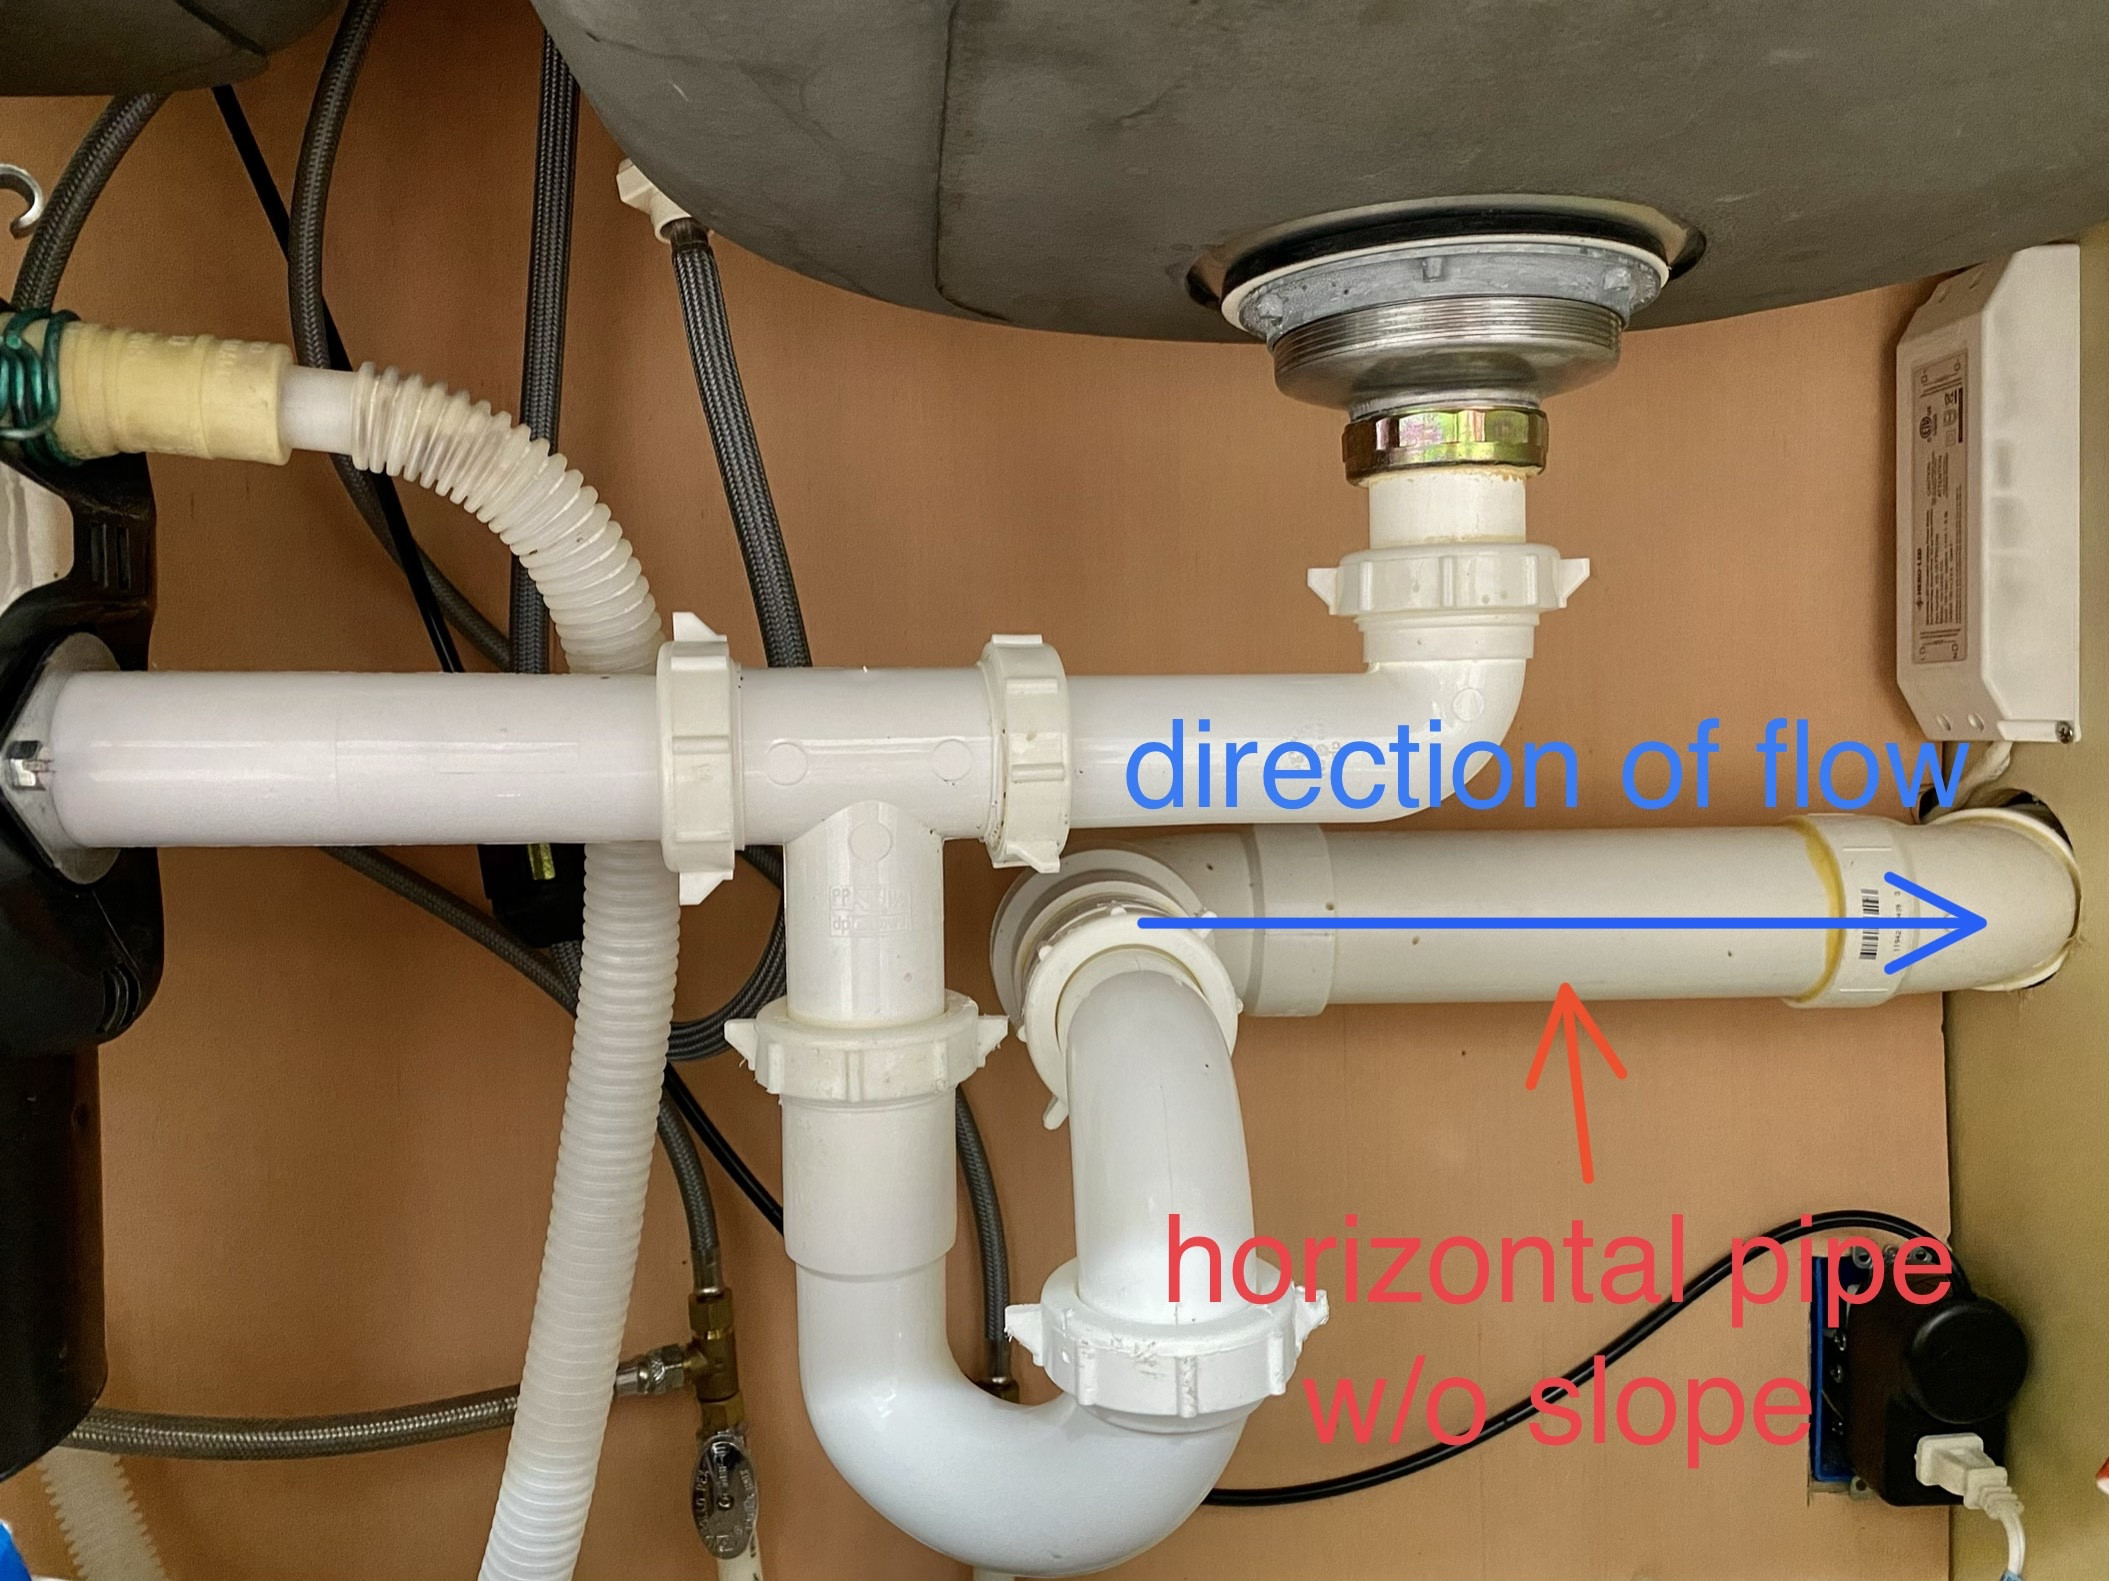
- P-Trap Issues: The P-trap is the curved section of pipe under the sink. If it’s damaged or improperly installed, it can leak.
- Pipe Damage: Physical damage to the pipe, such as cracks or dents, can also cause leaks.
Tools and Materials You’ll Need
Before you start any repairs on a pipe leaking under sink, gather the necessary tools and materials. Having everything on hand will make the process smoother and more efficient.
- Adjustable Wrench: For tightening and loosening connections.
- Basin Wrench: Specifically designed for reaching nuts in tight spaces under the sink.
- Pliers: For gripping and holding pipes.
- Screwdrivers: Both flathead and Phillips head.
- Plumber’s Tape (Teflon Tape): For sealing threaded connections.
- Pipe Joint Compound: Another option for sealing threaded connections.
- Replacement Washers and O-Rings: In various sizes.
- Bucket: To catch dripping water.
- Towels or Rags: For cleaning up spills.
- Safety Glasses: To protect your eyes.
- Gloves: To protect your hands.
Step-by-Step Repair Guide
Once you’ve identified the source of the pipe leaking under sink and gathered your tools, you can proceed with the repair. Here’s a step-by-step guide for some common leak scenarios:
Tightening Loose Connections
- Turn off the water supply: Locate the shut-off valves under the sink and turn them clockwise to stop the water flow.
- Dry the area: Use a towel or rag to dry the area around the leaking connection.
- Tighten the connection: Use an adjustable wrench to gently tighten the nut or fitting. Be careful not to overtighten, as this could damage the pipe or connection.
- Turn on the water supply: Slowly turn the shut-off valves counterclockwise to restore the water flow.
- Check for leaks: Observe the connection closely for any signs of leakage. If the leak persists, try tightening the connection slightly more.
Replacing Washers and O-Rings
- Turn off the water supply: As before, turn off the water supply to the sink.
- Disconnect the pipe: Use an adjustable wrench to carefully disconnect the pipe at the leaking connection.
- Remove the old washer or O-ring: Inspect the connection and remove the old, worn-out washer or O-ring.
- Install the new washer or O-ring: Place the new washer or O-ring in the correct position.
- Reconnect the pipe: Carefully reconnect the pipe, ensuring that the connection is secure.
- Turn on the water supply: Slowly turn the shut-off valves back on.
- Check for leaks: Monitor the connection for any signs of leakage.
Repairing a Leaking P-Trap
- Turn off the water supply: Shut off the water supply to the sink.
- Place a bucket underneath: Position a bucket under the P-trap to catch any water.
- Loosen the slip nuts: Use an adjustable wrench to loosen the slip nuts that connect the P-trap to the drain pipes.
- Remove the P-trap: Carefully remove the P-trap, being mindful of any remaining water.
- Inspect the P-trap: Check the P-trap for cracks, damage, or clogs. If the P-trap is damaged, replace it with a new one.
- Clean the P-trap: If the P-trap is clogged, clean it out thoroughly.
- Reinstall the P-trap: Reattach the P-trap to the drain pipes, tightening the slip nuts securely.
- Turn on the water supply: Restore the water supply and check for leaks.
Using Plumber’s Tape or Pipe Joint Compound
- Turn off the water supply: Shut off the water supply to the sink.
- Disconnect the pipe: Disconnect the pipe at the threaded connection.
- Clean the threads: Clean the threads on both the pipe and the fitting.
- Apply plumber’s tape or pipe joint compound: If using plumber’s tape, wrap it around the threads of the pipe in a clockwise direction. If using pipe joint compound, apply a thin layer to the threads.
- Reconnect the pipe: Reconnect the pipe, tightening the connection securely.
- Turn on the water supply: Restore the water supply and check for leaks.
Preventative Measures
Preventing a pipe leaking under sink is always better than dealing with the aftermath of a leak. Here are some preventative measures you can take:
- Regular Inspections: Periodically inspect the pipes and connections under your sink for any signs of wear and tear or leaks.
- Tighten Connections: Regularly tighten any loose connections.
- Avoid Harsh Chemicals: Avoid pouring harsh chemicals down the drain, as they can corrode the pipes.
- Flush Regularly: Flush the drain with hot water periodically to prevent clogs.
- Insulate Pipes: Insulate pipes in unheated areas to prevent freezing and bursting.
When to Call a Professional Plumber
While many minor leaks can be repaired with DIY methods, some situations require the expertise of a professional plumber. Consider calling a plumber if:
- You’re unable to identify the source of the leak.
- The leak is severe or persistent.
- You’re uncomfortable working with plumbing.
- You suspect there may be underlying plumbing issues.
Addressing a pipe leaking under sink promptly and effectively is essential for preventing water damage and maintaining the integrity of your plumbing system. By following the steps outlined in this guide, you can confidently tackle many common leaks and keep your sink in good working order. Remember to always prioritize safety and consult a professional plumber when needed. [See also: How to Prevent Sink Clogs] [See also: Choosing the Right Plumber] Ignoring a small pipe leaking under sink can lead to larger, more costly problems down the road. Taking proactive steps can save you time, money, and stress in the long run. A pipe leaking under sink is a common problem, but with the right knowledge and tools, you can often resolve it yourself. Don’t hesitate to address a pipe leaking under sink immediately. If you have a pipe leaking under sink that you cannot fix, call a plumber. Remember, a pipe leaking under sink is not something to ignore.

