Mastering Photoshop Landscape Editing: A Comprehensive Guide
Landscape photography captures the breathtaking beauty of the natural world. However, even the most stunning raw images can benefit from post-processing to enhance their colors, details, and overall impact. Adobe Photoshop stands as the industry-standard software for achieving these enhancements. This comprehensive guide provides a detailed walkthrough of essential Photoshop techniques for landscape editing, catering to both beginners and experienced photographers looking to refine their skills. We’ll explore everything from basic adjustments to advanced techniques, ensuring you can transform your landscape photos into captivating works of art. The goal is to teach you how to use Photoshop landscape editing techniques effectively.
Understanding the Photoshop Interface for Landscape Editing
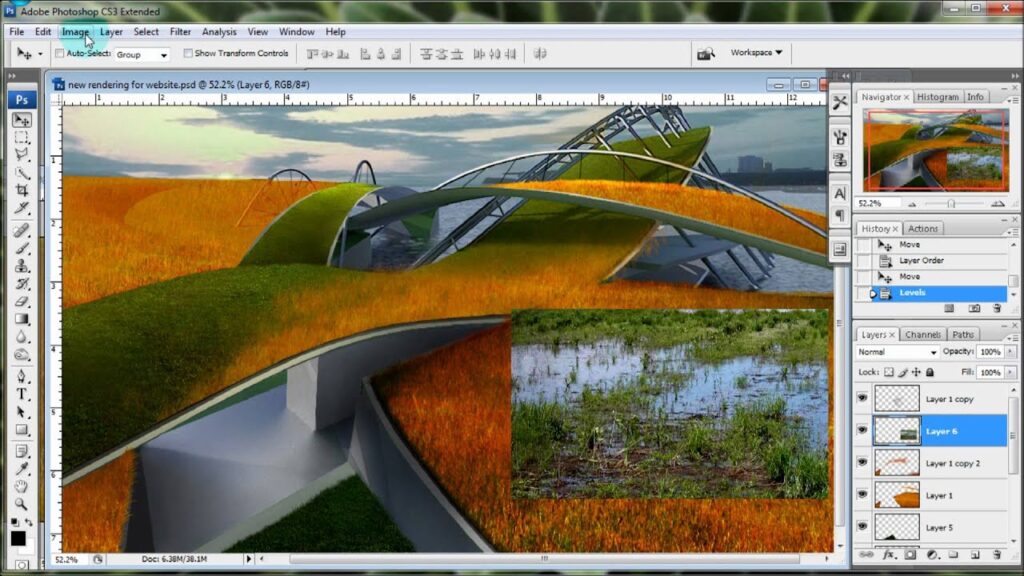
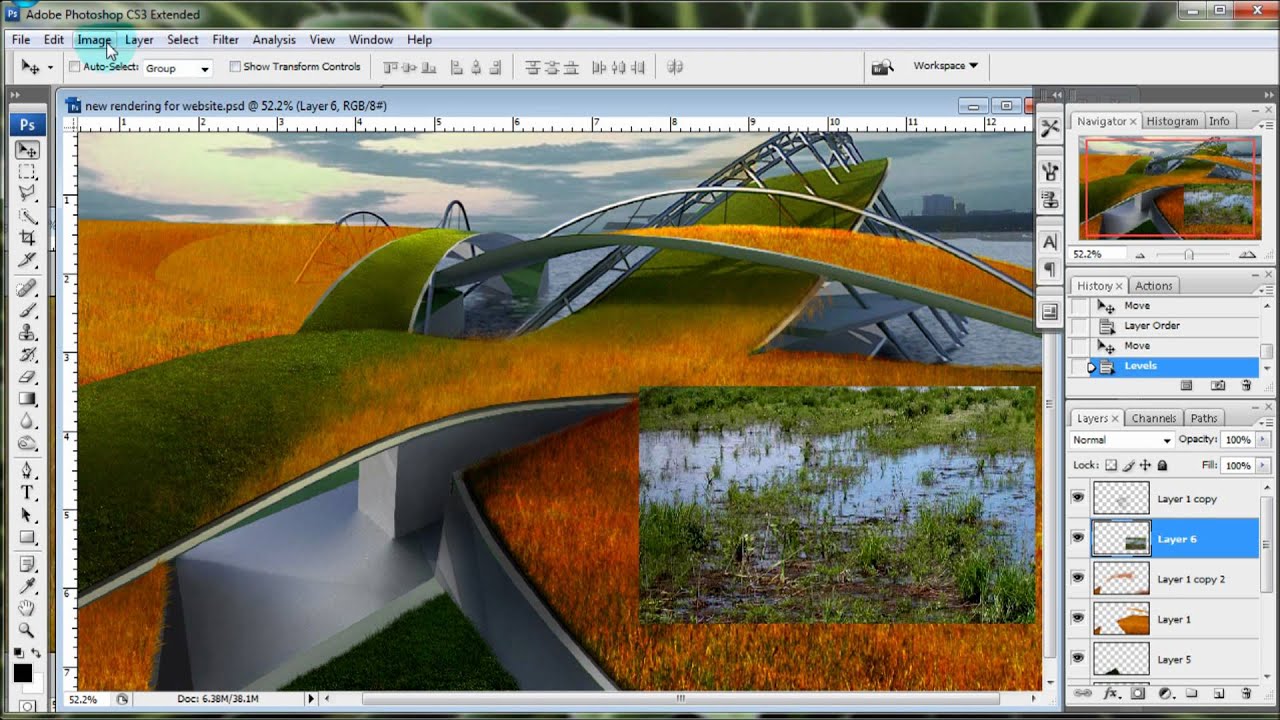
Before diving into specific editing techniques, it’s crucial to familiarize yourself with the Photoshop interface. Key panels include:
- Layers Panel: This is the foundation of non-destructive editing. Each adjustment you make should ideally be on a separate layer.
- Adjustments Panel: This panel provides various adjustment layers for tonal and color corrections.
- Tools Panel: This panel contains tools for selection, retouching, and other image manipulations.
- History Panel: This panel allows you to undo or redo actions, making it easy to experiment without fear of irreversible changes.
Understanding these panels is paramount for efficient and effective Photoshop landscape editing.
Essential Adjustments for Landscape Photography
Several fundamental adjustments form the backbone of landscape photo editing. These include:
White Balance Correction
Achieving accurate white balance is crucial for realistic color representation. Use the White Balance adjustment layer to neutralize color casts and ensure that whites appear white. Experiment with the Temperature and Tint sliders until the colors appear natural. Often, shooting in RAW format allows for more flexible white balance adjustments in post-processing.
Exposure and Contrast
Exposure and contrast adjustments control the overall brightness and tonal range of the image. Use the Exposure slider to brighten or darken the entire image. The Contrast slider increases or decreases the difference between the highlights and shadows. Be careful not to overexpose highlights or underexpose shadows, as this can result in loss of detail. Using adjustment layers in Photoshop landscape editing will help maintain a better quality image.
Highlight and Shadow Recovery
Often, landscape photos contain areas that are either too bright or too dark. The Highlights and Shadows sliders allow you to recover detail in these areas. Lowering the Highlights slider can bring back detail in blown-out skies, while raising the Shadows slider can reveal detail in dark foregrounds. These adjustments are crucial for balancing the tonal range of your image.
Clarity and Texture
The Clarity and Texture sliders enhance the details and sharpness of the image. The Clarity slider increases the contrast in the midtones, making the image appear sharper and more defined. The Texture slider enhances fine details without introducing harshness. Use these sliders sparingly, as overdoing them can result in an unnatural or over-processed look.
Advanced Photoshop Techniques for Landscape Enhancement
Once you’ve mastered the basic adjustments, you can move on to more advanced techniques to further enhance your landscape photos.
Dodge and Burn
Dodging and burning are techniques used to selectively lighten (dodge) or darken (burn) specific areas of an image. This can be used to guide the viewer’s eye, add depth, and create a sense of drama. Create separate layers for dodging and burning, and use a soft brush with low opacity to gradually build up the effect. This is a powerful technique in Photoshop landscape editing to emphasize certain parts of the image.
Color Grading
Color grading involves adjusting the colors of an image to create a specific mood or atmosphere. Use the Color Balance or Selective Color adjustment layers to fine-tune the colors in the highlights, midtones, and shadows. Experiment with different color combinations to achieve the desired effect. For example, adding a warm tone to the highlights and a cool tone to the shadows can create a visually appealing contrast.
Sky Replacement
Sometimes, the sky in your landscape photo may be dull or uninteresting. Sky replacement involves replacing the existing sky with a more dramatic or visually appealing one. This can be done using a combination of selection tools and blending modes. Select the sky using the Quick Selection tool or the Select and Mask workspace, then paste in the new sky image on a separate layer. Adjust the blending mode and opacity to seamlessly blend the new sky with the rest of the image. This can dramatically improve the overall look of your Photoshop landscape image.
Panorama Stitching
For capturing expansive landscapes, panorama stitching is an invaluable technique. Photoshop’s Photomerge feature allows you to seamlessly combine multiple overlapping images into a single panoramic image. Simply select the images you want to stitch together and let Photoshop automatically align and blend them. This is perfect for showcasing wide vistas and capturing the full scope of a landscape.
Using Filters
Photoshop offers a variety of filters that can be used to enhance landscape photos. The Sharpen filters can be used to increase the sharpness of the image, while the Blur filters can be used to create a sense of depth or motion. Experiment with different filters to see how they can enhance your images. Be mindful of not overusing filters, as this can lead to an unnatural or over-processed look. The right filter can dramatically change your Photoshop landscape result.
Non-Destructive Editing in Photoshop
A crucial aspect of professional Photoshop landscape editing is non-destructive editing. This approach ensures that your original image remains intact, and all adjustments are made on separate layers. This allows you to easily modify or remove adjustments without affecting the underlying image data. Use adjustment layers for all tonal and color corrections, and use smart objects for any transformations or scaling. This workflow provides maximum flexibility and control over your editing process.
Workflow for Editing Landscape Photos in Photoshop
A well-defined workflow can streamline your editing process and ensure consistent results. Here’s a recommended workflow for editing landscape photos in Photoshop:
- Initial Assessment: Begin by evaluating the image and identifying areas that need improvement.
- White Balance Correction: Adjust the white balance to ensure accurate color representation.
- Exposure and Contrast: Adjust the exposure and contrast to optimize the tonal range.
- Highlight and Shadow Recovery: Recover detail in blown-out highlights and dark shadows.
- Clarity and Texture: Enhance the details and sharpness of the image.
- Color Grading: Adjust the colors to create a specific mood or atmosphere.
- Dodge and Burn: Selectively lighten or darken areas to guide the viewer’s eye.
- Sharpening: Apply sharpening to enhance the details and sharpness of the final image.
- Final Review: Review the image and make any final adjustments as needed.
Common Mistakes to Avoid in Photoshop Landscape Editing
While Photoshop landscape editing can significantly enhance your photos, it’s easy to fall into common pitfalls. Here are some mistakes to avoid:
- Over-Sharpening: Excessive sharpening can introduce unwanted artifacts and noise.
- Over-Saturating Colors: Over-saturated colors can look unnatural and garish.
- Ignoring the Histogram: The histogram provides valuable information about the tonal range of your image. Ignoring it can lead to overexposure or underexposure.
- Not Using Layers: Editing directly on the background layer can be destructive and limit your flexibility.
- Not Saving Your Work: Regularly save your work to avoid losing progress.
The Power of Presets and Actions
Presets and actions can significantly speed up your editing workflow. Presets are pre-configured settings for adjustment layers, while actions are recorded sequences of steps. Many photographers create or purchase presets and actions to apply a consistent look to their images. However, it’s important to remember that presets and actions are just starting points. You may still need to make adjustments to tailor them to the specific characteristics of each image.
[See also: Basic Photo Editing Tips]
Conclusion: Unleashing Your Creative Potential with Photoshop
Photoshop landscape editing is a powerful tool for transforming your photos into stunning works of art. By mastering the techniques and workflows outlined in this guide, you can unlock your creative potential and bring your vision to life. Remember to practice regularly, experiment with different techniques, and develop your own unique style. With dedication and perseverance, you can become a proficient landscape photo editor and create images that captivate and inspire.
The journey of mastering Photoshop landscape editing is continuous, with new techniques and updates constantly emerging. Stay curious, stay creative, and continue to explore the endless possibilities that Photoshop offers.

