How to Tile a Front Porch: A Comprehensive Guide
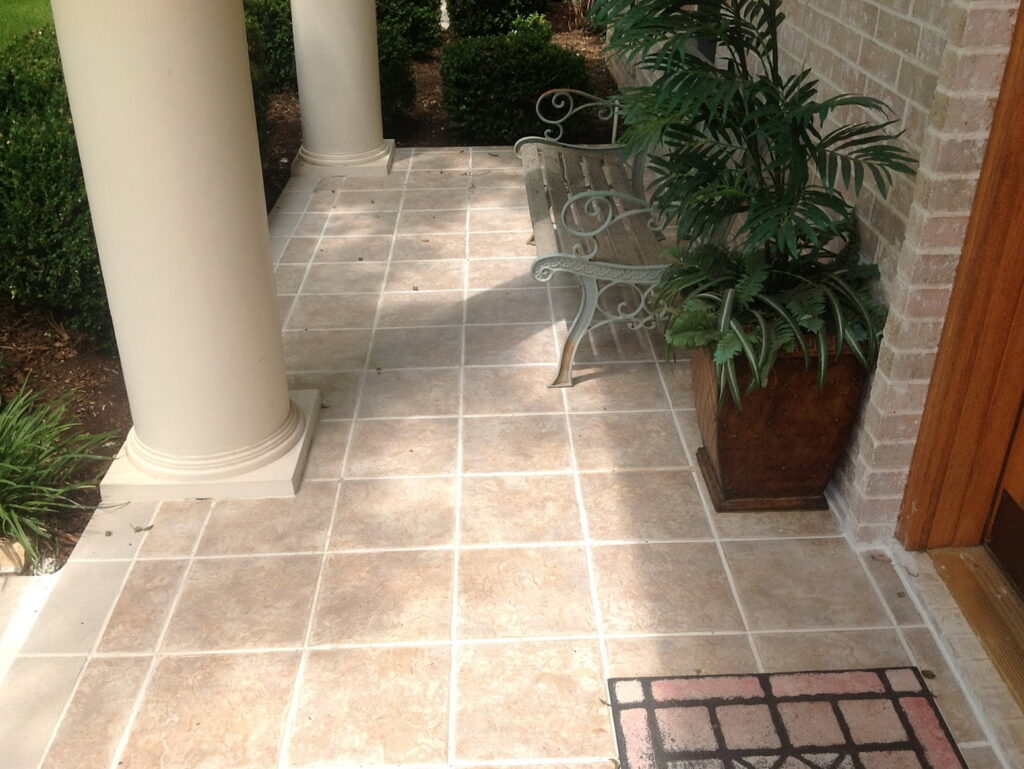
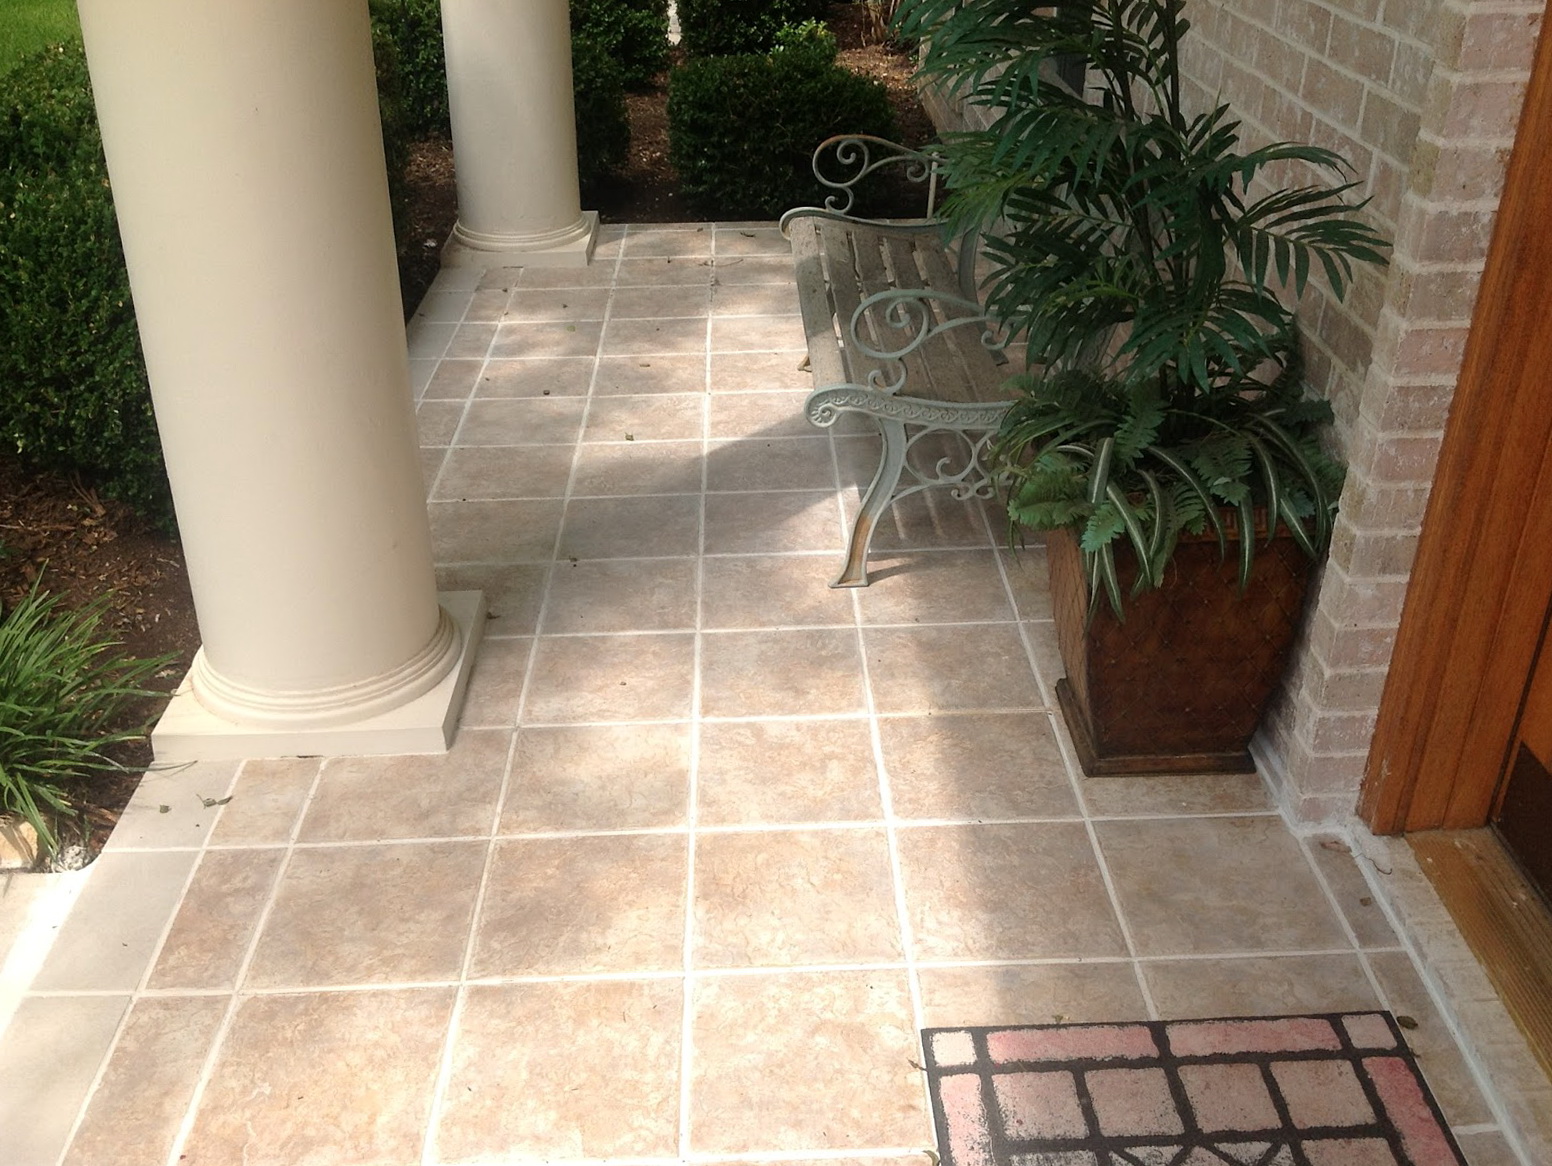
Tiling a front porch is an excellent way to enhance its curb appeal, increase its durability, and add value to your home. A well-tiled porch can withstand the elements, provide a slip-resistant surface, and create an inviting entrance for guests. This comprehensive guide will walk you through each step of the process, from planning and preparation to installation and maintenance. Whether you’re a seasoned DIY enthusiast or a beginner, this guide will provide the knowledge and confidence you need to successfully tile a front porch.
Why Choose Tile for Your Front Porch?
Before diving into the how-to, let’s explore why tile is a popular choice for front porches:
- Durability: Tile is incredibly durable and can withstand heavy foot traffic, extreme temperatures, and harsh weather conditions.
- Aesthetics: Tile comes in a vast array of styles, colors, and patterns, allowing you to create a unique and visually appealing porch.
- Low Maintenance: Once properly installed, tile requires minimal maintenance. Regular cleaning is usually sufficient to keep it looking its best.
- Slip Resistance: Certain types of tile, particularly those with textured surfaces, provide excellent slip resistance, enhancing safety.
- Increased Home Value: A beautifully tiled front porch can significantly increase the curb appeal and overall value of your home.
Planning and Preparation: The Key to Success
Proper planning and preparation are crucial for a successful tile a front porch project. This stage involves assessing your porch, selecting the right tile, and gathering the necessary tools and materials.
Assessing Your Porch
Begin by thoroughly inspecting your existing porch surface. Look for cracks, unevenness, or any signs of damage. If the surface is concrete, ensure it’s properly cured and free of any sealants or coatings. If it’s wood, check for rot or decay. Repair any damage before proceeding with the tiling process. A solid, level surface is essential for a long-lasting tile installation.
Choosing the Right Tile
Selecting the right tile is paramount. Consider these factors:
- Material: Popular options include porcelain, ceramic, and natural stone. Porcelain is generally the best choice for outdoor use due to its low water absorption rate and high durability. Ceramic is more affordable but less durable, while natural stone offers a unique aesthetic but may require more maintenance.
- PEI Rating: The Porcelain Enamel Institute (PEI) rating indicates a tile’s resistance to abrasion. For a front porch, choose tiles with a PEI rating of 3 or higher.
- Slip Resistance: Look for tiles with a high coefficient of friction (COF) to ensure slip resistance, especially in wet conditions.
- Style and Color: Choose a tile style and color that complements your home’s architecture and personal preferences. Consider the overall aesthetic you want to achieve.
- Size: The size of the tile can impact the overall look and feel of your porch. Larger tiles can create a more modern look, while smaller tiles can add a touch of classic charm.
Gathering Tools and Materials
Before you begin, gather all the necessary tools and materials:
- Tile
- Thin-set mortar
- Grout
- Tile spacers
- Notched trowel
- Rubber grout float
- Grout sponge
- Tile cutter or wet saw
- Level
- Measuring tape
- Pencil
- Safety glasses
- Gloves
- Bucket
- Clean water
- Sealant (optional)
Step-by-Step Installation Guide
Now that you’ve planned and prepared, it’s time to tile a front porch. Follow these steps carefully for a professional-looking result:
Step 1: Prepare the Surface
Ensure the porch surface is clean, dry, and free of any debris. If necessary, use a pressure washer to remove any dirt or grime. Repair any cracks or unevenness with a concrete patching compound. Apply a thin layer of primer to the surface to improve adhesion.
Step 2: Dry-Lay the Tile
Before applying mortar, dry-lay the tile to determine the layout and make any necessary adjustments. Start in the center of the porch and work your way outwards. Use tile spacers to maintain consistent spacing between tiles. This step allows you to visualize the final result and identify any potential issues.
Step 3: Mix the Thin-Set Mortar
Mix the thin-set mortar according to the manufacturer’s instructions. Add water gradually until you achieve a smooth, creamy consistency. Avoid adding too much water, as this can weaken the mortar. Let the mortar slake for about 10 minutes before using it.
Step 4: Apply the Mortar
Using a notched trowel, apply a layer of thin-set mortar to a small section of the porch surface. Hold the trowel at a 45-degree angle and create even ridges in the mortar. The size of the notch on the trowel will depend on the size of the tile. [See also: Choosing the Right Trowel for Your Tile Project]
Step 5: Set the Tile
Carefully place the tile onto the mortar bed, pressing down firmly and twisting slightly to ensure good adhesion. Use tile spacers to maintain consistent spacing between tiles. Use a level to ensure the tiles are even and aligned. If necessary, tap the tiles gently with a rubber mallet to adjust their position. Make sure you are careful to tile a front porch with proper placement.
Step 6: Cut Tiles as Needed
Use a tile cutter or wet saw to cut tiles to fit around edges, corners, or obstacles. Measure accurately and mark the tile before cutting. Always wear safety glasses when cutting tile.
Step 7: Allow the Mortar to Cure
Allow the mortar to cure for at least 24-48 hours before proceeding to the next step. Avoid walking on the tiles during this time. The curing time may vary depending on the type of mortar and the ambient temperature.
Step 8: Apply the Grout
Remove the tile spacers and clean the grout lines with a utility knife or grout saw. Mix the grout according to the manufacturer’s instructions. Apply the grout to the tile surface using a rubber grout float, working it into the grout lines at a 45-degree angle. Remove any excess grout from the tile surface with the float.
Step 9: Clean the Tile
After about 15-30 minutes, use a damp grout sponge to clean the tile surface. Rinse the sponge frequently in clean water. Remove any remaining grout haze with a clean, dry cloth.
Step 10: Allow the Grout to Cure
Allow the grout to cure for at least 72 hours before sealing the tile. Avoid walking on the tiles during this time. The curing time may vary depending on the type of grout and the ambient temperature.
Step 11: Seal the Tile (Optional)
Applying a sealant can protect the tile and grout from stains and moisture. Choose a sealant that is specifically designed for outdoor use. Apply the sealant according to the manufacturer’s instructions. [See also: Choosing the Right Sealant for Your Tile]
Maintenance and Care
To keep your tile a front porch looking its best, follow these maintenance tips:
- Sweep or vacuum the porch regularly to remove dirt and debris.
- Mop the porch with a mild detergent and water.
- Avoid using harsh chemicals or abrasive cleaners, as these can damage the tile and grout.
- Clean up spills immediately to prevent staining.
- Inspect the grout lines periodically and repair any cracks or damage.
- Reapply sealant as needed.
Troubleshooting Common Problems
Even with careful planning and execution, you may encounter some common problems when you tile a front porch. Here are some troubleshooting tips:
- Uneven Tiles: If some tiles are higher or lower than others, use a rubber mallet to gently tap them into place. If the problem persists, you may need to remove the tile and add or remove mortar.
- Cracked Tiles: Cracked tiles can be caused by improper installation, heavy impact, or extreme temperature changes. Replace any cracked tiles as soon as possible to prevent further damage.
- Grout Problems: Grout can crack, crumble, or become stained over time. Repair or replace damaged grout as needed. Clean stained grout with a grout cleaner or bleach solution.
- Efflorescence: Efflorescence is a white, powdery substance that can appear on the surface of the tile. It is caused by mineral salts that migrate to the surface and evaporate. Remove efflorescence with a mild acid solution.
Conclusion
Tile a front porch is a rewarding DIY project that can significantly enhance the beauty and value of your home. By following this comprehensive guide, you can achieve a professional-looking result that will last for years to come. Remember to plan carefully, choose the right materials, and take your time. With a little effort and attention to detail, you can transform your front porch into a welcoming and stylish entrance. Enjoy your newly tiled front porch!

