
How to Strip a Ruger MK IV Bolt: A Comprehensive Guide
The Ruger MK IV is a popular .22 LR pistol known for its accuracy, reliability, and ease of maintenance. A key aspect of maintaining your Ruger MK IV is understanding how to disassemble and reassemble the bolt. This process, often referred to as stripping the bolt, allows for thorough cleaning and inspection, ensuring optimal performance and longevity of your firearm. This guide provides a step-by-step walkthrough on how to strip a Ruger MK IV bolt, along with essential tips and considerations.
Why Strip Your Ruger MK IV Bolt?
Regular cleaning is crucial for any firearm, and the Ruger MK IV is no exception. Over time, residue from ammunition, such as carbon buildup and lead deposits, can accumulate within the bolt assembly. This can lead to malfunctions, reduced accuracy, and potential damage to internal components. Stripping the bolt allows you to access and clean these areas effectively, preventing these issues. Specifically, learning to strip a Ruger MK IV bolt ensures you can maintain peak performance.
- Improved Reliability: Removing fouling and debris ensures smooth operation.
- Enhanced Accuracy: A clean bolt contributes to consistent cycling and firing.
- Extended Lifespan: Regular maintenance prevents wear and tear on critical parts.
- Safety: Inspecting the bolt for damage allows you to identify potential safety hazards.
Tools You’ll Need
Before you begin, gather the necessary tools:
- Ruger MK IV Owner’s Manual: Always refer to the manual for specific instructions and safety guidelines.
- Small Punch or Tool: A small punch or similar tool (like a dental pick) will be needed to depress the firing pin retaining pin.
- Cleaning Solvent: Choose a solvent specifically designed for firearm cleaning.
- Cleaning Patches: Use clean patches to wipe away solvent and remove debris.
- Bore Brush: A small brush can help scrub away stubborn deposits.
- Gun Oil: Lubricate the bolt after cleaning to ensure smooth operation.
- Soft Cloth: Protect your work surface and prevent scratches.
Step-by-Step Guide to Stripping a Ruger MK IV Bolt
Follow these steps carefully to strip a Ruger MK IV bolt safely and effectively:
Step 1: Ensure the Firearm is Safe
Before handling any firearm, always ensure it is unloaded and safe. Remove the magazine and visually inspect the chamber to confirm it is empty. Point the firearm in a safe direction throughout the entire process.
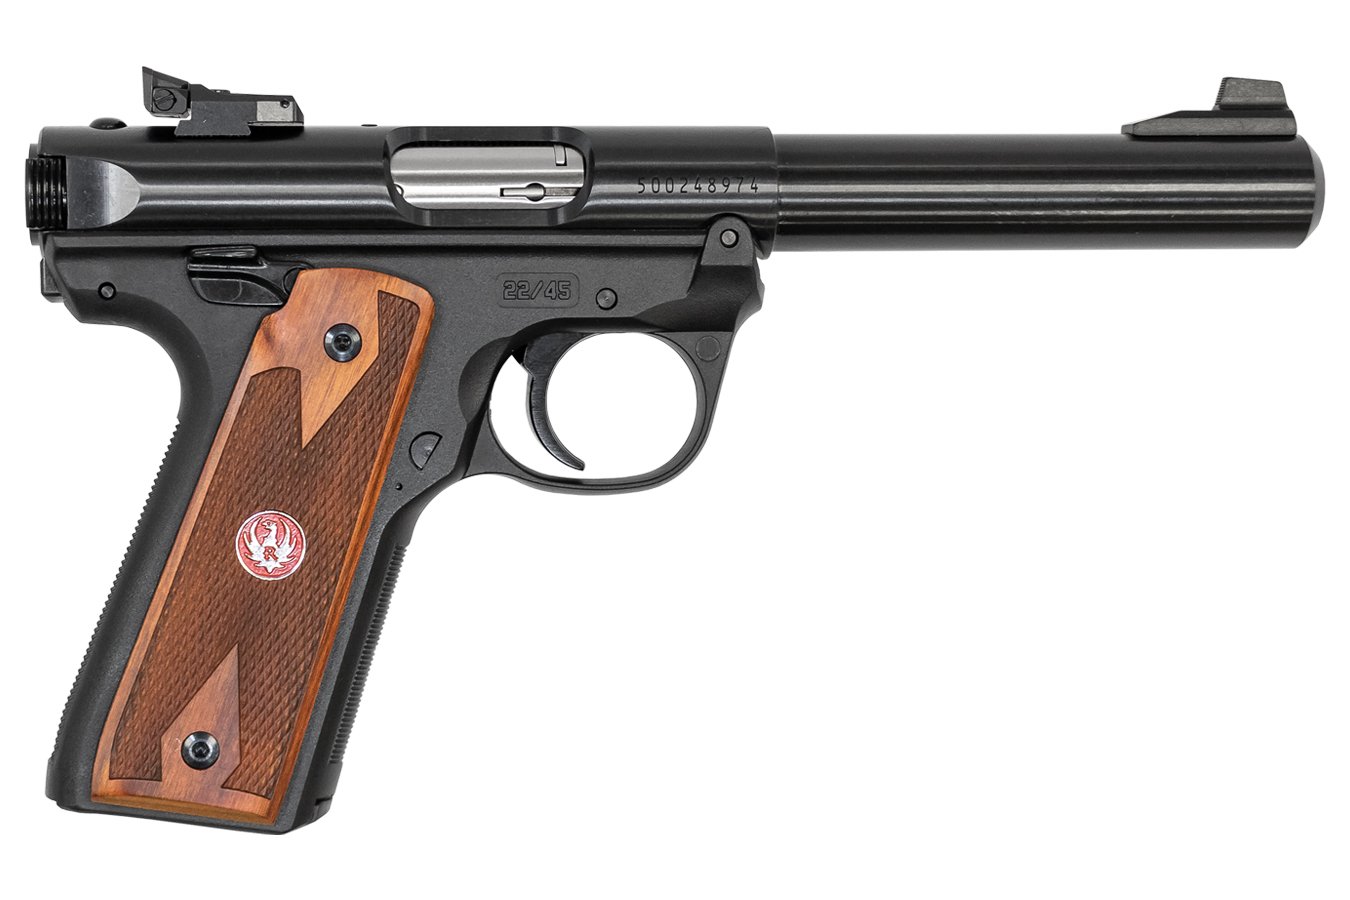
Step 2: Remove the Bolt from the Pistol
Follow the instructions in your owner’s manual to remove the bolt from the Ruger MK IV pistol. This typically involves field stripping the pistol and then sliding the bolt out of the receiver.
Step 3: Identify the Components
Familiarize yourself with the components of the bolt. You’ll typically find the firing pin, firing pin spring, firing pin retaining pin, extractor, and extractor spring.
Step 4: Depress the Firing Pin Retaining Pin
This is the crucial step in learning how to strip a Ruger MK IV bolt. Using your small punch or tool, carefully depress the firing pin retaining pin. This pin holds the firing pin in place.
Step 5: Remove the Firing Pin
With the retaining pin depressed, gently push the firing pin forward and out of the bolt. Be careful not to lose the firing pin spring.
Step 6: Remove the Firing Pin Spring
Carefully remove the firing pin spring from the bolt.
Step 7: Remove the Extractor
The extractor is usually held in place by a small pin or detent. Use your small punch or tool to carefully push out the extractor pin (if present) and remove the extractor and extractor spring. Some extractors may simply be pried out carefully.
Step 8: Clean All Components
Now that you have disassembled the bolt, thoroughly clean all the components. Use your cleaning solvent, patches, and bore brush to remove any carbon buildup, lead deposits, or other debris. Pay particular attention to the firing pin channel and the extractor claw.
Step 9: Inspect All Components
Carefully inspect all components for wear and tear, cracks, or damage. Replace any parts that are worn or damaged. This is a critical step in ensuring the safe and reliable operation of your Ruger MK IV. Checking the components after you strip a Ruger MK IV bolt is vital.
Reassembling the Ruger MK IV Bolt
Reassembly is essentially the reverse of disassembly. Follow these steps carefully:
Step 1: Lubricate the Components
Lightly lubricate all the components with gun oil. This will ensure smooth operation and prevent corrosion.
Step 2: Reinstall the Extractor
Reinstall the extractor and extractor spring. If there is an extractor pin, make sure it is properly seated.
Step 3: Reinstall the Firing Pin Spring
Place the firing pin spring back into its recess in the bolt.
Step 4: Reinstall the Firing Pin
Insert the firing pin into the bolt, making sure it is properly aligned.
Step 5: Depress the Firing Pin Retaining Pin and Secure the Firing Pin
Depress the firing pin retaining pin again and push the firing pin fully into place. Release the retaining pin, ensuring it securely locks the firing pin in position.
Step 6: Test the Firing Pin
After reassembling the bolt, test the firing pin to ensure it moves freely and strikes the firing pin stop appropriately. You should feel a distinct click when the firing pin is released.
Step 7: Reinstall the Bolt into the Pistol
Follow the instructions in your owner’s manual to reinstall the bolt into the Ruger MK IV pistol and reassemble the firearm.
Safety Considerations
- Always prioritize safety: Ensure the firearm is unloaded before disassembling.
- Refer to the owner’s manual: Follow the manufacturer’s instructions for disassembly and reassembly.
- Work in a clean and well-lit area: This will help you avoid losing small parts.
- Use the correct tools: Using the wrong tools can damage the bolt or other components.
- Inspect all parts carefully: Replace any worn or damaged parts.
- Test the firearm after reassembly: Ensure it functions properly before using it.
Common Mistakes to Avoid
- Forgetting to unload the firearm: This is the most dangerous mistake you can make.
- Using excessive force: If a part is difficult to remove, double-check that you are using the correct technique.
- Losing small parts: Work in a clean and organized area.
- Over-lubricating the bolt: Too much oil can attract dirt and debris.
- Using the wrong cleaning solvent: Some solvents can damage the finish on the bolt.
Conclusion
Learning how to strip a Ruger MK IV bolt is an essential skill for any Ruger MK IV owner. By following these steps and taking the necessary precautions, you can keep your pistol clean, reliable, and accurate for years to come. Regular maintenance, including properly stripping and cleaning the bolt, will contribute significantly to the longevity and performance of your firearm. Remember to always prioritize safety and consult your owner’s manual for specific instructions. Understanding how to strip a Ruger MK IV bolt will make you a more proficient and responsible gun owner. This guide should give you the confidence to strip a Ruger MK IV bolt yourself. Knowing how to strip a Ruger MK IV bolt is a great skill.
[See also: Ruger MK IV Disassembly Guide]
[See also: Cleaning Your .22 Pistol]
[See also: Troubleshooting Ruger MK IV Malfunctions]

