How Are Henna Tattoos Done? A Comprehensive Guide to Henna Art
Henna tattoos, also known as mehndi, have been practiced for centuries across various cultures, particularly in South Asia, the Middle East, and Africa. These temporary skin decorations are created using a paste made from the henna plant (Lawsonia inermis). But how are henna tattoos done, and what makes them such a cherished art form? This comprehensive guide delves into the history, preparation, application, and aftercare of henna tattoos, providing a detailed understanding of this beautiful tradition.
The History and Cultural Significance of Henna
The use of henna dates back to ancient times, with evidence suggesting its use in Egypt as early as 3400 BC. Initially, henna was used for its cooling properties, applied to the palms of hands and soles of feet to lower body temperature in hot climates. Over time, its use evolved into a form of body art, with intricate designs becoming increasingly popular. In many cultures, henna is associated with celebrations and rites of passage, particularly weddings. [See also: Henna Traditions Around the World]
In South Asian cultures, henna holds immense significance during weddings. The bride’s hands and feet are adorned with elaborate henna designs, symbolizing good luck, prosperity, and the bond between the couple. The application of henna is often a festive occasion, with family and friends gathering to celebrate and share stories. The darker the stain of the henna, the more auspicious the marriage is believed to be.
Preparing the Henna Paste: A Step-by-Step Guide
Understanding how are henna tattoos done begins with understanding how the henna paste is prepared. The quality of the henna paste is crucial for achieving a rich, dark stain. Here’s a step-by-step guide to preparing henna paste:
Gathering the Ingredients
- Henna Powder: Use high-quality, finely sifted henna powder specifically intended for body art. Avoid hair dye henna, as it often contains chemical additives that can be harmful to the skin.
- Lemon Juice: The acidity of lemon juice helps release the dye from the henna powder.
- Essential Oils: Certain essential oils, such as lavender, tea tree, or cajeput, enhance the staining power of henna. They also provide a pleasant aroma.
- Sugar: Adding a small amount of sugar helps the paste adhere better to the skin.
Mixing the Paste
- Sifting the Henna Powder: Sift the henna powder through a fine-mesh sieve to remove any lumps. This ensures a smooth paste.
- Adding Lemon Juice: Gradually add lemon juice to the henna powder, mixing until a thick, mud-like consistency is achieved.
- Adding Essential Oils: Add a few drops of your chosen essential oil and mix well.
- Adding Sugar: Incorporate a small amount of sugar into the paste.
- Resting the Paste: Cover the paste tightly and let it rest for at least 4-6 hours, or preferably overnight, in a warm place. This allows the dye to release from the henna powder.
Checking the Consistency
After resting, check the consistency of the paste. It should be smooth, creamy, and able to hold its shape. If the paste is too thick, add a little more lemon juice. If it’s too thin, add a small amount of henna powder. The perfect consistency is key to how are henna tattoos done properly.
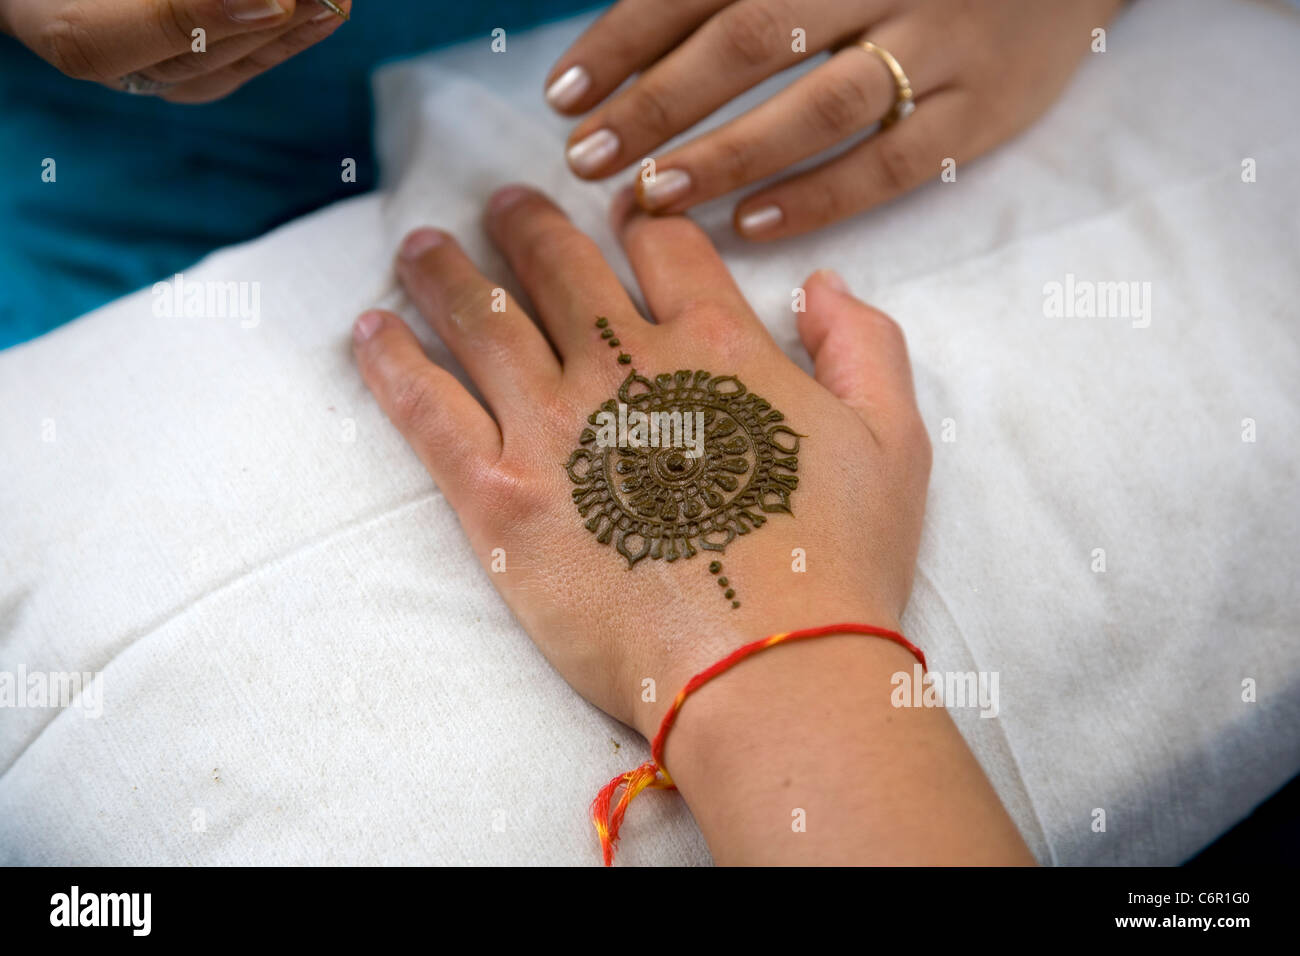
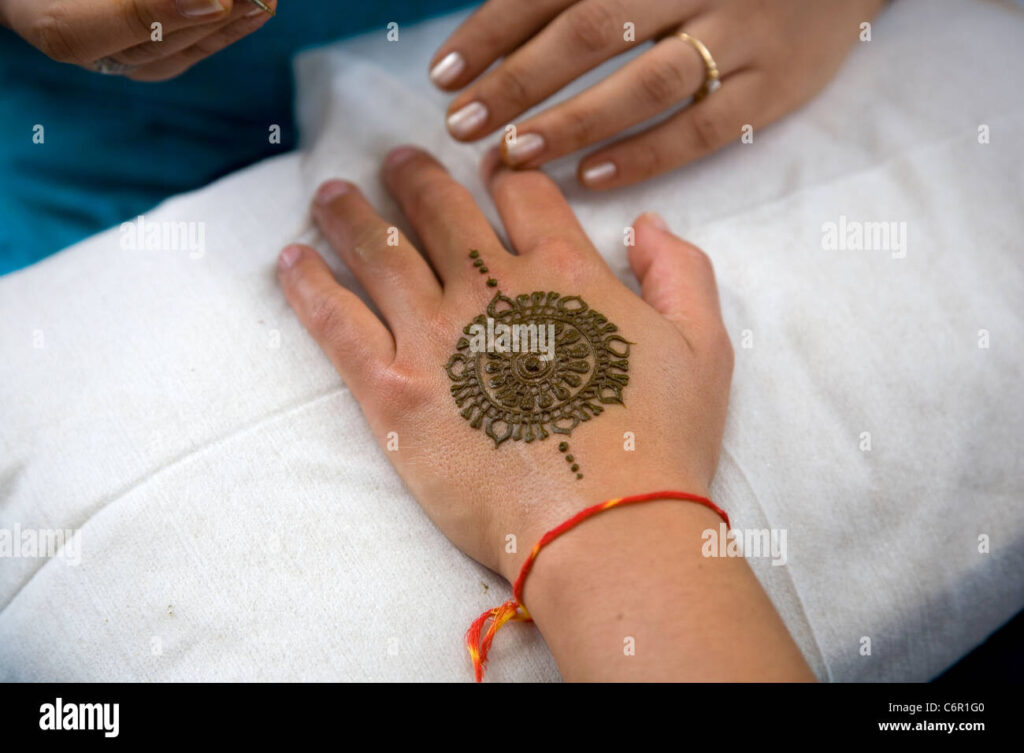
Applying the Henna Tattoo: Techniques and Tips
Now that the henna paste is ready, it’s time to apply the tattoo. There are several techniques for applying henna, each with its own advantages.
Using a Cone
Applying henna with a cone is the most common and versatile method. Here’s how to do it:
- Preparing the Cone: Fill a cellophane or plastic cone with the henna paste. Seal the cone tightly to prevent leaks.
- Holding the Cone: Hold the cone like a pen, with your index finger and thumb guiding the tip.
- Applying the Design: Gently squeeze the cone to release the henna paste, drawing your desired design onto the skin. Maintain a steady hand and consistent pressure for even lines.
- Correcting Mistakes: Use a cotton swab or toothpick to correct any mistakes immediately.
Using a Syringe
A syringe without a needle can also be used to apply henna, offering greater precision for intricate designs. The process is similar to using a cone, but the syringe allows for finer lines and more detailed work.
Using Stencils
Stencils are a great option for beginners or for creating symmetrical designs. Simply apply the stencil to the skin and fill in the design with henna paste. Remove the stencil carefully to reveal the pattern.
Tips for a Successful Application
- Clean the Skin: Ensure the skin is clean and free of oils or lotions before applying henna.
- Practice the Design: Practice your design on paper before applying it to the skin.
- Work in a Well-Lit Area: Good lighting is essential for seeing the details of your design.
- Take Breaks: If you’re working on a complex design, take breaks to avoid fatigue.
Aftercare: Maximizing the Stain
The aftercare process is crucial for achieving a dark and long-lasting henna stain. Here are some essential aftercare tips:
Keeping the Paste on the Skin
The longer the henna paste stays in contact with the skin, the darker the stain will be. Aim to keep the paste on for at least 2-6 hours, or even longer if possible. Some people leave it on overnight.
Sealing the Paste
To prevent the paste from drying out and cracking, seal it with a mixture of lemon juice and sugar. Gently dab the mixture onto the henna design using a cotton ball. This helps keep the paste moist and in contact with the skin.
Avoiding Water
Avoid washing the area with water for as long as possible after removing the henna paste. Water can interfere with the oxidation process and result in a lighter stain. When you do need to wash the area, gently pat it dry instead of rubbing.
Applying Natural Oils
After removing the henna paste, apply a natural oil, such as coconut oil or olive oil, to the area. This helps moisturize the skin and protect the stain from fading. [See also: Best Oils for Henna Aftercare]
Avoiding Harsh Chemicals
Avoid using harsh soaps, detergents, or chemicals on the hennaed area, as they can strip the stain. Also, avoid excessive exposure to sunlight, which can cause the stain to fade more quickly.
Potential Risks and Precautions
While natural henna is generally safe, it’s essential to be aware of potential risks and take necessary precautions:
Black Henna
Avoid henna products labeled as “black henna.” Black henna often contains a chemical dye called paraphenylenediamine (PPD), which can cause severe allergic reactions, blistering, and permanent scarring. Always ensure that the henna is natural and free of additives.
Allergic Reactions
Although rare, some individuals may be allergic to natural henna. If you experience any itching, redness, or swelling after applying henna, remove the paste immediately and seek medical attention.
Patch Test
Before applying henna to a large area of skin, perform a patch test. Apply a small amount of henna paste to a discreet area, such as the inside of your wrist, and wait 24 hours to check for any adverse reactions.
The Art of Henna Design: Styles and Inspirations
Henna designs vary widely across different cultures and regions. Some popular styles include:
- Indian Henna: Characterized by intricate, detailed patterns that often cover the hands and feet extensively.
- Arabic Henna: Features bold, floral designs with larger, less dense patterns.
- African Henna: Often incorporates geometric shapes and bold, symmetrical patterns.
- Modern Henna: Blends traditional motifs with contemporary designs, incorporating elements such as animals, symbols, and abstract patterns.
Inspiration for henna designs can come from various sources, including nature, art, and cultural traditions. Many henna artists draw inspiration from floral patterns, geometric shapes, and traditional motifs. The key is to create a design that is both aesthetically pleasing and meaningful to the individual.
Conclusion
Understanding how are henna tattoos done involves a combination of historical knowledge, careful preparation, precise application, and diligent aftercare. By following these steps and taking necessary precautions, you can create beautiful and meaningful henna designs that celebrate this ancient art form. Whether you’re preparing for a special occasion or simply expressing your creativity, henna tattoos offer a unique and timeless way to adorn the skin and connect with cultural traditions.
Henna continues to be a vibrant and evolving art form, with new techniques and designs emerging all the time. As you explore the world of henna, remember to respect its cultural significance and appreciate the artistry and skill involved in creating these temporary masterpieces. The key to achieving stunning henna tattoos lies in using high-quality ingredients, mastering the application techniques, and providing proper aftercare. Embrace the beauty and tradition of henna, and let your creativity flourish.

