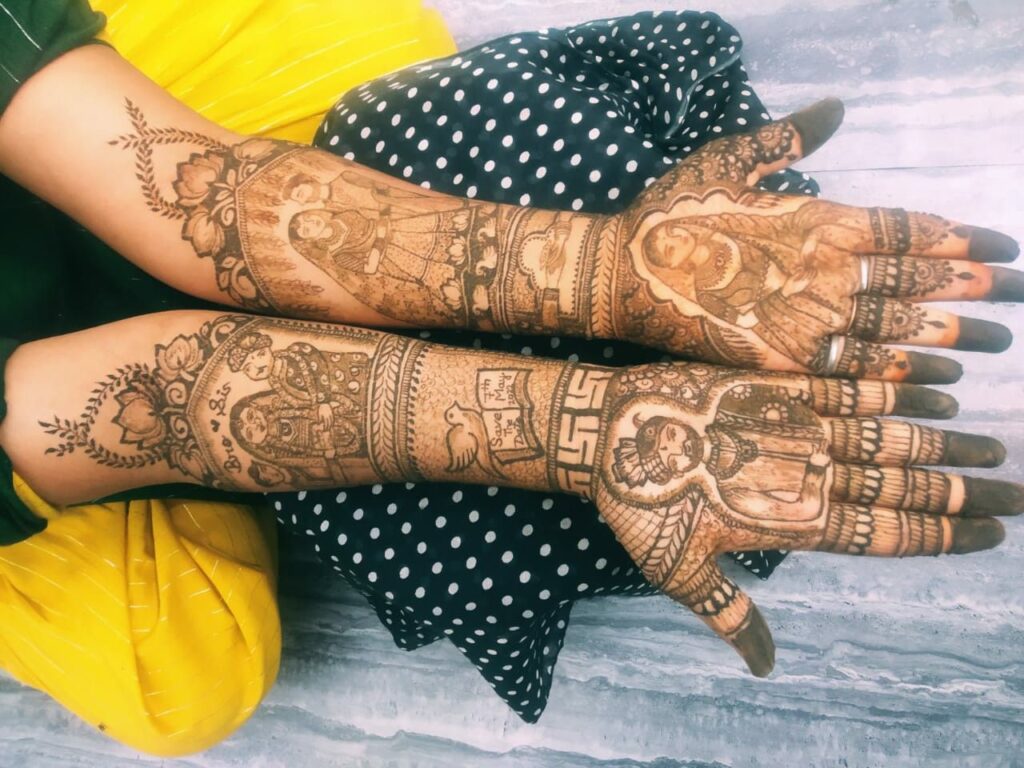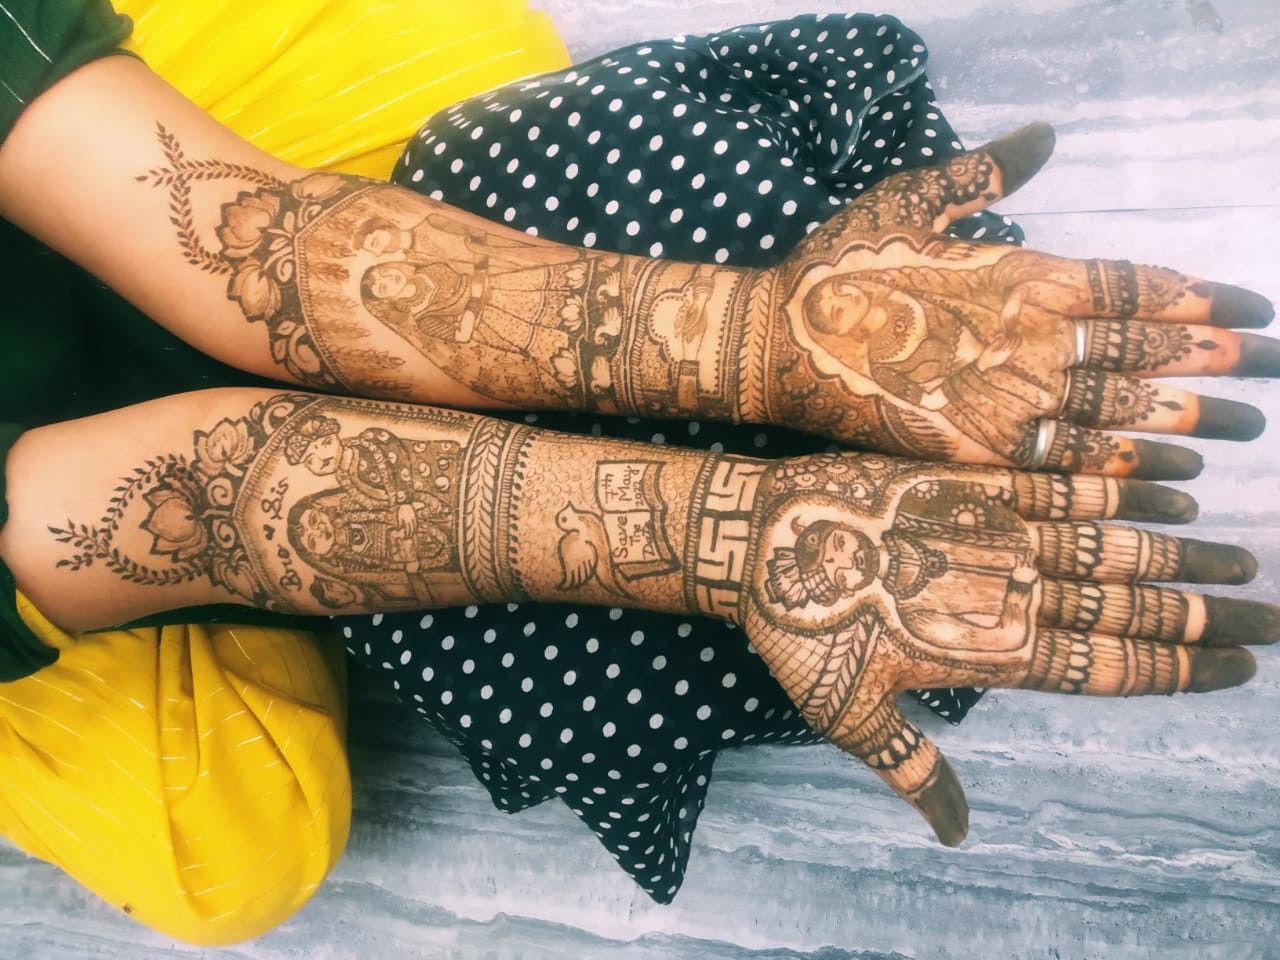
Henna Tattoo for Beginners: A Comprehensive Guide
Henna tattoos, also known as mehndi, have been practiced for thousands of years across various cultures, primarily in South Asia, the Middle East, and Africa. They are a beautiful and temporary form of body art, often associated with celebrations, traditions, and self-expression. If you’re a beginner eager to explore the world of henna tattoo, this comprehensive guide will provide you with everything you need to get started. We’ll cover the basics, from understanding the history and cultural significance of henna tattoo to selecting the right supplies and mastering basic application techniques. This guide aims to provide a safe and enjoyable introduction to creating your own stunning henna tattoo designs.
Understanding Henna: Natural vs. Black Henna
Before diving into the application process, it’s crucial to understand the difference between natural henna and so-called “black henna.” Natural henna is derived from the Lawsonia inermis plant and produces a reddish-brown stain. This is the only safe and authentic form of henna. Black henna, on the other hand, often contains a chemical dye called paraphenylenediamine (PPD), which can cause severe allergic reactions, skin blistering, and permanent scarring. Always insist on using natural henna and avoid any product marketed as “black henna” or claiming to produce an immediately dark stain. Your skin health is paramount.
Identifying Natural Henna
- Color: Natural henna powder is typically a greenish-brown color.
- Scent: It has an earthy, slightly herbal aroma.
- Stain: The stain will develop over 24-48 hours and will range from orange to reddish-brown.
- Ingredients: Always check the ingredients list. Natural henna should only contain henna powder, water, lemon juice, and essential oils like lavender or tea tree.
Essential Supplies for Henna Tattooing
To create your own henna tattoo at home, you’ll need a few essential supplies. Investing in good quality materials will make the process smoother and yield better results.
- Henna Powder: Opt for finely sifted, body-art quality henna powder.
- Essential Oils: Choose therapeutic-grade essential oils like lavender, tea tree, or cajeput. These oils help release the dye from the henna powder and enhance the stain.
- Lemon Juice or Filtered Water: Used to create the henna paste.
- Sugar: A small amount of sugar helps the paste adhere better to the skin.
- Applicator Bottle or Cone: For applying the henna paste precisely. You can purchase pre-made cones or create your own using cellophane or plastic sheets.
- Transfer Paper (Optional): For transferring intricate designs onto your skin.
- Gloves: To protect your hands from staining.
- Paper Towels: For cleaning up spills and mistakes.
- Sealing Solution (Optional): A mixture of lemon juice and sugar to keep the henna paste moist and in contact with the skin.
Preparing Your Henna Paste
Making your own henna tattoo paste allows you to control the ingredients and consistency. Here’s a step-by-step guide:
- Sift the Henna Powder: Sift the henna powder through a fine-mesh sieve to remove any lumps.
- Mix the Ingredients: In a glass or stainless steel bowl, combine the sifted henna powder with lemon juice or filtered water. Start with small amounts of liquid and gradually add more until you achieve a thick, yogurt-like consistency.
- Add Essential Oils: Incorporate a few drops of your chosen essential oil. The amount will depend on the oil’s potency; start with a small amount and adjust to your preference.
- Add Sugar: Add a pinch of sugar to help the paste adhere to the skin.
- Cover and Dye Release: Cover the bowl with plastic wrap and let it sit at room temperature for 12-24 hours, or until dye release occurs. You’ll know the dye has released when a small dot of paste applied to your palm stains orange within a few minutes.
- Adjust Consistency: Once the dye has released, check the consistency of the paste. If it’s too thick, add a small amount of liquid until it reaches a smooth, creamy texture.
- Fill the Applicator: Transfer the henna paste into your applicator bottle or cone. Ensure there are no air bubbles to prevent uneven application.
Preparing Your Skin for Henna Application
Proper skin preparation is essential for achieving a dark and long-lasting henna tattoo. Follow these steps to ensure optimal results:
- Cleanse the Skin: Wash the area with soap and water to remove any oils, lotions, or dirt.
- Exfoliate (Optional): Gently exfoliate the skin to remove dead cells, allowing the henna to penetrate deeper.
- Avoid Lotions and Oils: Do not apply any lotions, oils, or moisturizers to the area before applying the henna.
- Shave (Optional): If the area has hair, you may want to shave it for a cleaner application and stain.
Basic Henna Application Techniques
Now that you’ve prepared your henna paste and skin, it’s time to start applying your henna tattoo. Here are some basic techniques to get you started:
- Freehand Design: If you’re feeling creative, you can draw your design directly onto the skin using the applicator. Start with simple shapes and patterns, such as dots, lines, and floral motifs.
- Stencil or Transfer: For more intricate designs, use a stencil or transfer paper. Apply the stencil or transfer paper to the skin and carefully trace the design with the henna paste.
- Applying the Paste: Hold the applicator at a slight angle and gently squeeze the paste onto the skin, following your design. Apply a generous layer of paste, ensuring it’s thick enough to create a good stain.
- Correcting Mistakes: If you make a mistake, use a damp cotton swab to gently wipe away the unwanted paste.
Caring for Your Henna Tattoo
Proper aftercare is crucial for achieving a dark and long-lasting henna tattoo. Here’s how to care for your henna design:
- Keep the Paste Moist: Apply a sealing solution (lemon juice and sugar mixture) to the paste every few hours to keep it moist and in contact with the skin.
- Avoid Water: Avoid washing the area for as long as possible, ideally for at least 2-6 hours. Water can hinder the staining process.
- Keep Warm: Keeping the area warm will help the henna stain darker.
- Remove the Paste: After the recommended time (typically 2-6 hours), gently scrape off the dried henna paste. Avoid washing it off with water.
- Apply Natural Oil: After removing the paste, apply a natural oil like coconut oil, olive oil, or almond oil to moisturize the skin and protect the stain.
- Avoid Harsh Soaps and Chemicals: Avoid using harsh soaps, chemicals, and exfoliants on the area, as they can fade the stain.
Troubleshooting Common Henna Problems
Even with careful preparation and application, you may encounter some common problems with your henna tattoo. Here are some solutions:
- Faint Stain: This could be due to poor quality henna powder, insufficient dye release, or inadequate aftercare. Ensure you’re using fresh, body-art quality henna powder, allowing sufficient dye release time, and following proper aftercare instructions.
- Uneven Stain: This could be caused by uneven application of the paste, inconsistent skin preparation, or exposure to water during the staining process. Ensure you’re applying the paste evenly, preparing your skin properly, and avoiding water contact.
- Allergic Reaction: If you experience itching, redness, or blistering, it could be an allergic reaction to the henna paste. Immediately wash off the paste with soap and water and seek medical attention. As mentioned earlier, ensure you are using natural henna and not “black henna.”
Henna Tattoo Design Ideas for Beginners
Starting with simple designs is a great way to build your confidence and skills. Here are a few henna tattoo design ideas perfect for beginners:
- Simple Floral Patterns: Start with basic floral motifs like daisies, roses, and vines. These designs are easy to execute and can be adapted to various sizes and shapes.
- Geometric Shapes: Incorporate geometric shapes like triangles, squares, and circles into your designs. These patterns are visually appealing and relatively easy to create.
- Dot and Line Patterns: Use dots and lines to create intricate patterns and textures. These simple elements can be combined in countless ways to create unique and eye-catching designs.
- Tribal-Inspired Motifs: Draw inspiration from tribal art and incorporate simple tribal motifs into your henna designs. These patterns often feature bold lines and geometric shapes.
Creating your own henna tattoo can be a rewarding and enjoyable experience. By following this comprehensive guide, you’ll be well-equipped to start your henna journey with confidence. Remember to always prioritize safety by using natural henna and following proper application and aftercare techniques. With practice and patience, you’ll be creating stunning henna designs in no time. Don’t be afraid to experiment and let your creativity flow. Happy henna-ing!
[See also: The Cultural Significance of Henna]
[See also: Advanced Henna Design Techniques]
[See also: Natural Dyes for Temporary Tattoos]

