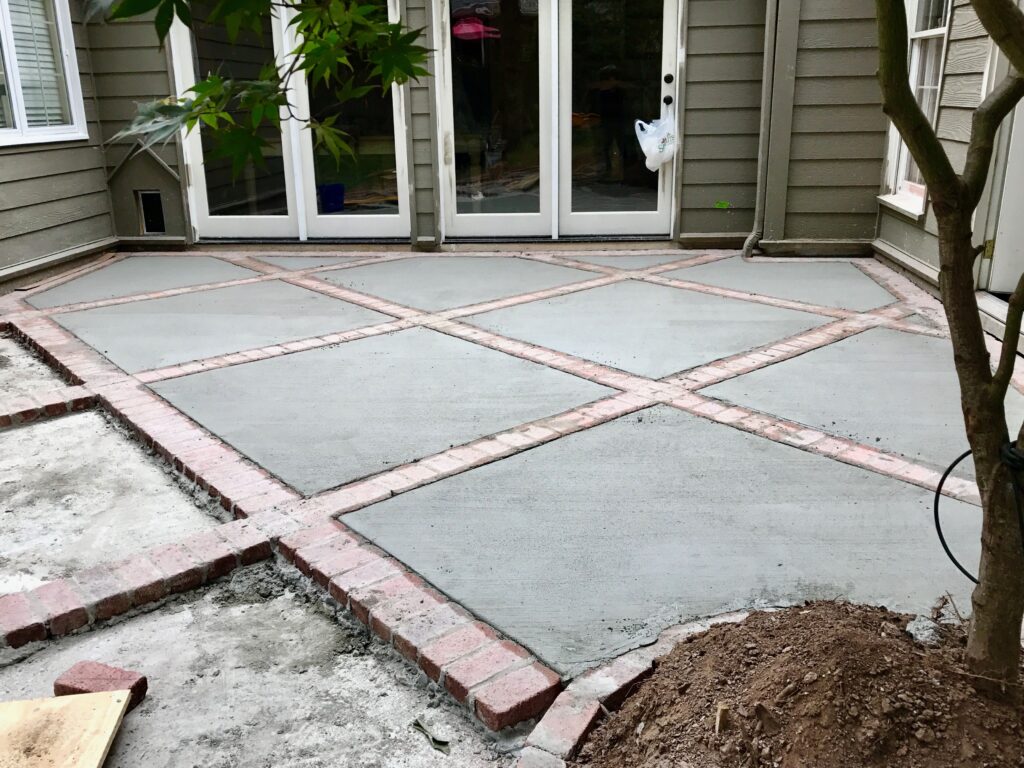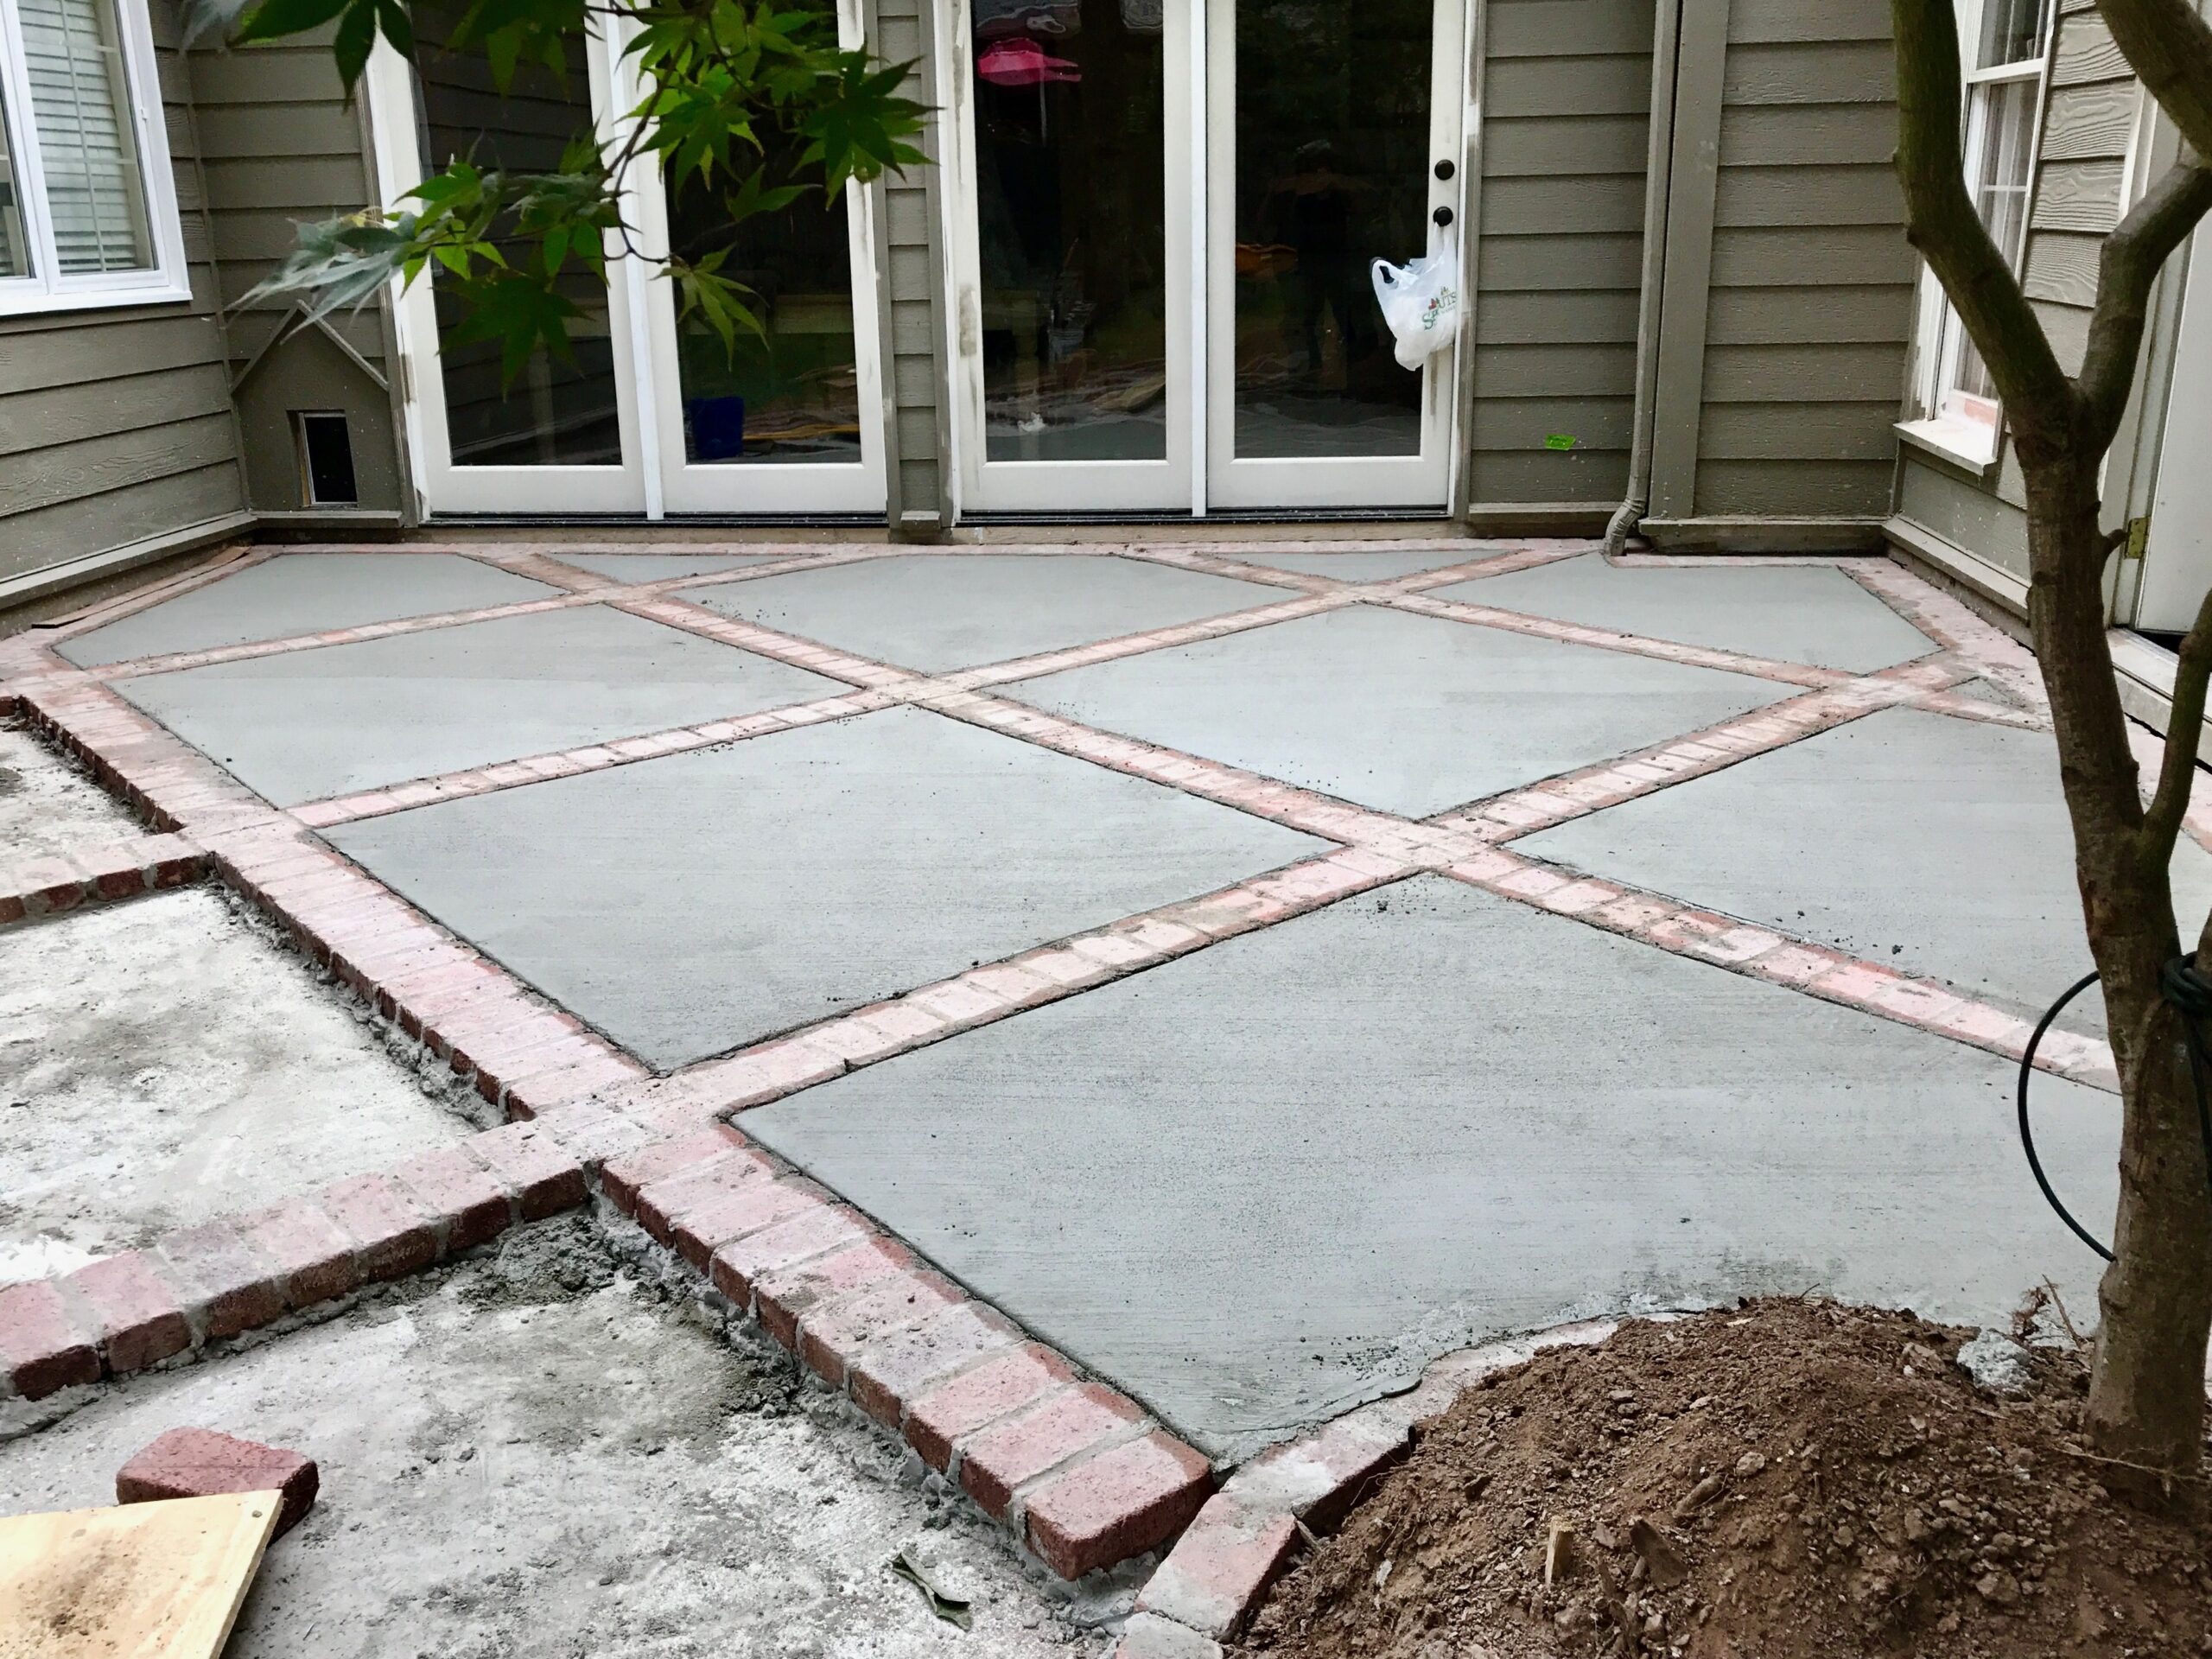
DIY Paver Patio: A Comprehensive Guide to Building Your Own Outdoor Oasis
Creating a beautiful and functional outdoor space doesn’t always require hiring a professional contractor. Building your own DIY paver patio is a rewarding project that can significantly enhance your home’s value and provide a perfect spot for relaxation and entertainment. This comprehensive guide will walk you through each step of the process, from planning and preparation to installation and maintenance, ensuring you achieve a professional-looking result. Whether you’re a seasoned DIY enthusiast or a beginner, this guide will provide the knowledge and confidence you need to tackle this exciting project.
Why Choose a Paver Patio?
Before diving into the how-to, let’s explore the benefits of choosing a paver patio over other patio materials like concrete or wood. Pavers offer several advantages, including:
- Durability: Pavers are incredibly durable and can withstand harsh weather conditions, heavy foot traffic, and even vehicle weight (depending on the type of paver).
- Aesthetics: Pavers come in a wide variety of colors, shapes, and textures, allowing you to create a custom look that complements your home’s style.
- Ease of Repair: Unlike poured concrete, if a paver cracks or becomes damaged, it can be easily replaced without affecting the entire patio.
- Permeability: Permeable pavers allow water to drain through them, reducing runoff and preventing puddling.
- Increased Home Value: A well-designed and constructed paver patio can significantly increase your property’s value.
Planning Your DIY Paver Patio Project
Careful planning is crucial for a successful DIY paver patio project. Consider these factors:
Location, Location, Location
Choose a location that is easily accessible from your house and receives adequate sunlight. Consider the surrounding landscape and how the patio will integrate with your existing garden or lawn. Check for underground utilities before you dig.
Size and Shape
Determine the size and shape of your patio based on your needs and the available space. Consider how you plan to use the patio – will it be for dining, lounging, or both? Sketch out a few different designs to visualize the final result. Remember to account for furniture and walkways.
Paver Selection
Choosing the right pavers is essential for both aesthetics and functionality. Consider the following:
- Material: Pavers are typically made from concrete, brick, or natural stone. Concrete pavers are the most affordable and versatile option, while brick pavers offer a classic, timeless look. Natural stone pavers are the most expensive but provide a unique, natural aesthetic.
- Color and Texture: Choose pavers that complement your home’s exterior and your personal style. Consider the texture of the pavers – smooth pavers are easier to clean, while textured pavers provide better traction.
- Thickness: The thickness of the pavers will depend on the intended use of the patio. For pedestrian traffic, 2 3/8 inch pavers are sufficient. For patios that will be used for vehicles, you’ll need thicker pavers (at least 3 1/8 inch).
Budgeting
Create a realistic budget that includes the cost of pavers, base materials (gravel, sand), tools, and any other necessary supplies. Get quotes from multiple suppliers to compare prices. Don’t forget to factor in potential unexpected expenses. Building a DIY paver patio saves money on labor, but materials still cost money.
Permits
Check with your local building department to see if you need a permit for your paver patio project. Some municipalities require permits for patios that exceed a certain size or that are located close to property lines.
Tools and Materials
Gathering the necessary tools and materials before you start will save you time and frustration. Here’s a list of what you’ll need:
Tools
- Shovels
- Rake
- Wheelbarrow
- Tamper (hand or plate compactor)
- Level (at least 4 feet long)
- Measuring tape
- String line and stakes
- Rubber mallet
- Circular saw with a diamond blade (for cutting pavers)
- Safety glasses and gloves
Materials
- Pavers
- Gravel (for the base)
- Sand (for the leveling bed)
- Edge restraints (plastic or metal)
- Paver sand (for filling the joints)
- Weed barrier fabric
Step-by-Step Installation Guide
Now that you’ve planned your project and gathered your supplies, it’s time to start building your DIY paver patio. Follow these steps carefully for a professional-looking result:
Step 1: Excavation
Excavate the area for your patio to a depth of at least 6 inches. This will allow for the base material and the pavers themselves. Make sure the excavation is level and square. Use a string line and stakes to mark the perimeter of your patio and ensure straight edges.
Step 2: Installing the Base
Lay down a layer of weed barrier fabric to prevent weeds from growing up through the pavers. Then, spread a layer of gravel (typically 4 inches thick) over the fabric. Use a rake to evenly distribute the gravel and a tamper to compact it. A well-compacted base is crucial for the stability of your patio.
Step 3: Adding the Sand Leveling Bed
Spread a 1-inch layer of sand over the compacted gravel base. Use a rake to level the sand and then use a screed board (a straight piece of wood) to create a smooth, even surface. This leveling bed is essential for ensuring that the pavers are perfectly level. This is a crucial step for a professional DIY paver patio.
Step 4: Laying the Pavers
Start laying the pavers in your desired pattern. Gently tap each paver into place with a rubber mallet. Use a level to ensure that the pavers are level with each other. If a paver is too high or too low, adjust the sand underneath it. Maintain consistent spacing between the pavers (typically 1/8 to 1/4 inch). Consider using a paver installation kit to help maintain consistent spacing.
Step 5: Cutting Pavers
You’ll likely need to cut some pavers to fit around the edges of your patio. Use a circular saw with a diamond blade to cut the pavers. Always wear safety glasses and gloves when cutting pavers. Score the paver first, then make multiple shallow passes to avoid chipping.
Step 6: Installing Edge Restraints
Install edge restraints around the perimeter of your patio to prevent the pavers from shifting. Edge restraints can be made from plastic, metal, or concrete. Secure the edge restraints with stakes or screws.
Step 7: Filling the Joints
Sweep paver sand into the joints between the pavers. Use a broom to work the sand into the joints until they are completely filled. This will help to lock the pavers in place and prevent weeds from growing in the joints. You may need to repeat this process several times over the first few weeks as the sand settles. This is a vital step in ensuring the longevity of your DIY paver patio.
Step 8: Compacting the Patio
Use a plate compactor (with a rubber mat attached to prevent scratching the pavers) to compact the entire patio. This will help to settle the pavers and lock them in place. If you don’t have access to a plate compactor, you can use a hand tamper, but it will require more effort.
Maintaining Your Paver Patio
With proper maintenance, your DIY paver patio will last for many years. Here are a few tips:
- Sweep regularly: Sweep your patio regularly to remove dirt, leaves, and other debris.
- Wash occasionally: Wash your patio with a garden hose and mild detergent to remove stains and grime.
- Refill the joints: Periodically refill the joints with paver sand as needed.
- Seal the pavers: Consider sealing your pavers to protect them from stains and fading.
- Remove weeds: Remove any weeds that grow in the joints as soon as you see them.
Troubleshooting Common Problems
Even with careful planning and execution, you may encounter some problems during your DIY paver patio project. Here are a few common issues and how to fix them:
- Uneven pavers: If some pavers are uneven, remove them and adjust the sand underneath them.
- Weeds growing in the joints: Use a weed killer specifically designed for paver patios.
- Pavers shifting: Make sure your edge restraints are properly installed and that the joints are filled with paver sand.
- Stains: Use a paver cleaner to remove stains from your patio.
Conclusion
Building a DIY paver patio is a challenging but rewarding project that can add beauty and value to your home. By following the steps outlined in this guide, you can create a stunning outdoor space that you’ll enjoy for years to come. Remember to plan carefully, gather the necessary tools and materials, and take your time. With a little effort and patience, you can achieve professional-looking results and create your own outdoor oasis. Don’t be afraid to consult online resources or local hardware stores for further assistance. Good luck with your DIY paver patio project!
[See also: Choosing the Right Paver for Your Patio]
[See also: Paver Patio Maintenance Tips and Tricks]

