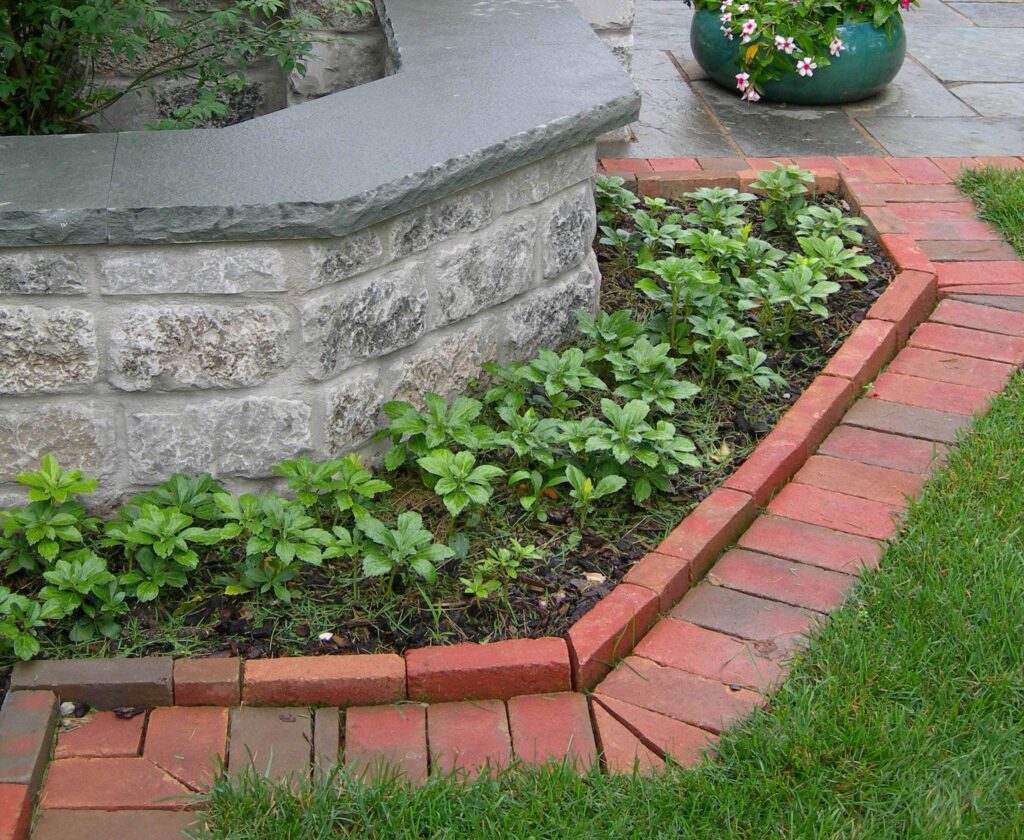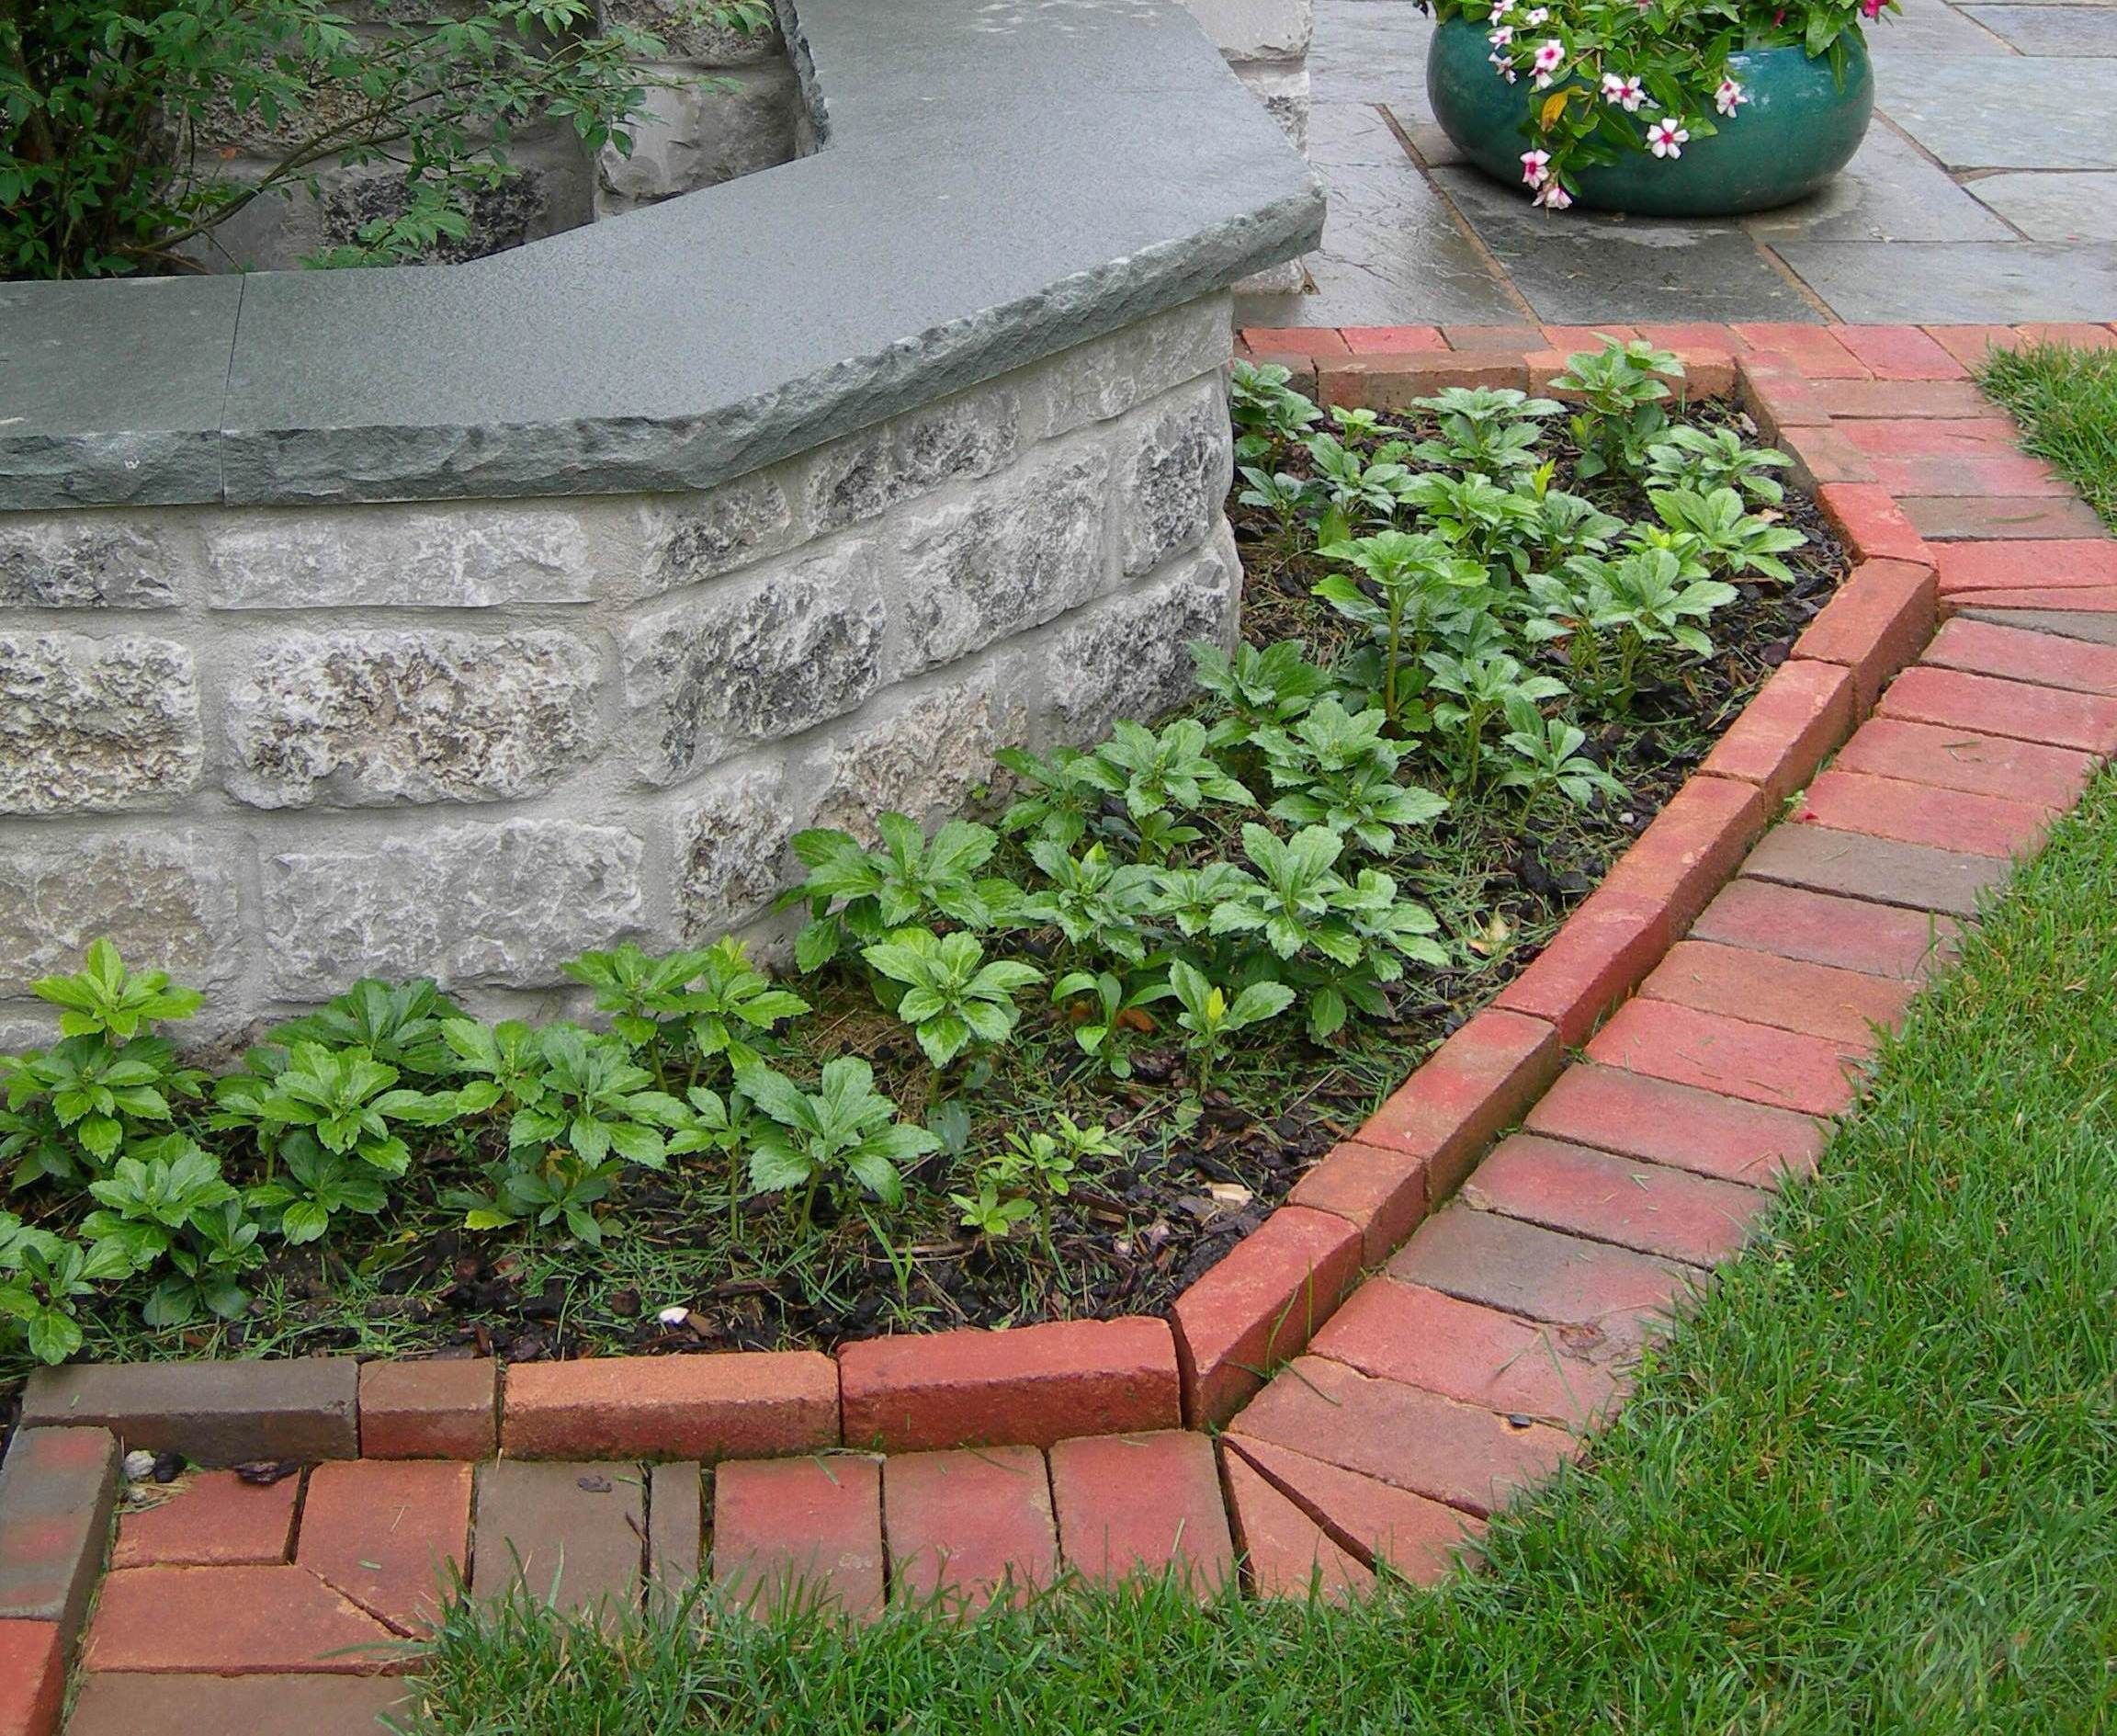
Brick Landscape Edging: A Timeless and Practical Guide
Brick landscape edging offers a classic and durable solution for defining garden beds, walkways, and other outdoor spaces. Its enduring appeal lies not only in its aesthetic versatility but also in its practical benefits, including weed control, erosion prevention, and enhanced curb appeal. This guide explores the various aspects of using brick edging, from design considerations to installation techniques, ensuring you can create a beautiful and functional landscape feature.
Why Choose Brick Landscape Edging?
Before diving into the specifics, let’s examine the advantages of selecting brick landscape edging over other materials:
- Aesthetics: Bricks come in a variety of colors, textures, and sizes, allowing for a customized look that complements any architectural style. From rustic tumbled bricks to sleek modern pavers, the options are virtually limitless.
- Durability: Bricks are incredibly durable and can withstand harsh weather conditions, resisting cracking, fading, and decay. This ensures a long-lasting edging solution with minimal maintenance.
- Cost-Effectiveness: While the initial cost might be slightly higher than some alternatives, the longevity of brick edging makes it a cost-effective choice in the long run. Its resistance to damage means fewer repairs and replacements.
- Ease of Installation: While professional installation is always an option, many homeowners can successfully install brick landscape edging themselves with the right tools and guidance.
- Weed Control: When installed properly, brick edging creates a physical barrier that helps prevent weeds from encroaching into garden beds and walkways.
- Erosion Control: By defining the edges of planting areas, brick edging helps to contain soil and prevent erosion, especially on slopes.
- Curb Appeal: A well-defined landscape instantly enhances curb appeal, adding value and visual interest to your property. Brick landscape edging is an excellent way to achieve this.
Design Considerations for Brick Edging
Planning is crucial for a successful brick landscape edging project. Consider the following factors:
Style and Color
The style and color of your bricks should complement your home’s architecture and the overall landscape design. For a traditional look, consider using reclaimed bricks or pavers with a tumbled finish. For a more contemporary aesthetic, opt for smooth, clean-lined bricks in neutral tones. Consider the color of your house, the color of your mulch, and the color of your plants when selecting your brick. [See also: Choosing the Right Paver Color for Your Patio]
Edging Height and Depth
The height of your brick landscape edging will depend on the desired look and function. A low profile edging (2-3 inches above ground) is ideal for defining garden beds without obstructing views. A higher edging (4-6 inches above ground) provides greater weed control and erosion protection. The depth of the buried portion of the brick is equally important. Aim to bury at least half the brick to provide stability and prevent shifting.
Edging Layout and Shape
Consider the shape and layout of your garden beds and walkways when designing your brick landscape edging. Straight lines create a formal, structured look, while curved lines offer a more natural and flowing aesthetic. Use a garden hose or rope to experiment with different layouts before committing to a final design. Ensure the lines are smooth and consistent for a professional finish. Remember to consider the space you have available and how the edging will integrate with existing features like trees, shrubs, and fences.
Material Quantity Calculation
Accurately calculating the amount of brick needed is essential to avoid shortages or excess materials. Measure the total length of the area you plan to edge and divide by the length of a single brick to determine the number of bricks required. Add an extra 10% to account for cuts and breakage. Don’t forget to factor in any curves or bends, which will require more bricks. Also, consider the width of the mortar joints (if using mortar) when calculating the required amount of bricks.
Installation Techniques for Brick Landscape Edging
There are two primary methods for installing brick landscape edging: dry-laid and mortared. Dry-laid edging is simpler and more flexible, while mortared edging offers greater stability and permanence.
Dry-Laid Brick Edging
Dry-laid brick landscape edging is a popular choice for its ease of installation and adaptability. Here’s a step-by-step guide:
- Prepare the Site: Clear the area of grass, weeds, and debris. Dig a trench along the desired edging line, ensuring it’s deep enough to bury at least half the brick.
- Create a Base: Pour a layer of gravel or crushed stone into the trench to provide drainage and stability. Compact the base with a tamper.
- Position the Bricks: Place the bricks along the trench, ensuring they are level and evenly spaced. Use a rubber mallet to gently tap them into place.
- Backfill: Backfill the trench with soil, compacting it around the bricks to hold them in place.
- Add Sand (Optional): For added stability, fill the gaps between the bricks with sand. This helps to prevent weeds from growing and keeps the bricks from shifting.
Mortared Brick Edging
Mortared brick landscape edging provides a more permanent and stable solution. Here’s how to install it:
- Prepare the Site: As with dry-laid edging, clear the area and dig a trench.
- Pour a Concrete Footer: Pour a concrete footer into the trench to provide a solid base for the bricks. Allow the concrete to cure completely before proceeding.
- Mix the Mortar: Mix the mortar according to the manufacturer’s instructions.
- Lay the Bricks: Apply a layer of mortar to the concrete footer and place the first brick. Continue laying bricks, ensuring they are level and evenly spaced. Use a trowel to remove any excess mortar.
- Cure the Mortar: Keep the mortar moist for several days to allow it to cure properly.
Maintaining Your Brick Landscape Edging
Brick landscape edging requires minimal maintenance. Here are a few tips to keep it looking its best:
- Weed Control: Regularly remove any weeds that grow along the edging.
- Cleaning: Periodically clean the bricks with a brush and soapy water to remove dirt and debris. For stubborn stains, use a pressure washer on a low setting.
- Repair: Replace any cracked or damaged bricks promptly to prevent further damage.
- Re-Sand (Dry-Laid): Replenish the sand between the bricks periodically to maintain stability and weed control.
Creative Brick Edging Ideas
Beyond the standard straight lines, there are many creative ways to incorporate brick landscape edging into your garden design:
- Herringbone Pattern: Lay the bricks in a herringbone pattern for a visually interesting and sophisticated look.
- Stacked Bricks: Stack bricks vertically to create a raised edging that adds height and dimension.
- Curved Edging: Use flexible bricks or pavers to create flowing, curved edges that complement natural landscapes.
- Mixed Materials: Combine brick edging with other materials, such as stone or wood, for a unique and textured look.
- Tiered Edging: Create a tiered effect by layering bricks at different heights, adding depth and visual interest to your garden.
Cost Considerations for Brick Landscape Edging
The cost of brick landscape edging varies depending on several factors, including the type of brick, the size of the project, and whether you hire a professional installer. Here’s a breakdown of the typical costs:
- Materials: Bricks typically range from $0.50 to $5 per brick, depending on the type and quality.
- Installation: Professional installation can range from $5 to $15 per linear foot, depending on the complexity of the project.
- DIY: If you choose to install the edging yourself, you’ll only need to pay for the materials and any necessary tools.
Before starting your project, get quotes from multiple suppliers and contractors to ensure you’re getting the best price. Consider the long-term benefits of brick landscape edging, such as its durability and low maintenance, when evaluating the overall cost.
Finding the Right Bricks for Your Project
Choosing the right bricks is crucial for achieving the desired look and functionality. Consider the following factors when selecting your bricks:
- Material: Bricks are typically made from clay, concrete, or reclaimed materials. Clay bricks are known for their durability and natural appearance, while concrete bricks are more affordable and come in a wider range of colors and textures. Reclaimed bricks offer a rustic and eco-friendly option.
- Size and Shape: Bricks come in various sizes and shapes, from standard rectangular bricks to square pavers and irregular stones. Choose a size and shape that complements your design and is easy to work with.
- Texture and Finish: The texture and finish of the bricks can significantly impact the overall look of your edging. Smooth bricks offer a modern and clean aesthetic, while textured bricks provide a more rustic and natural feel. Consider the surrounding landscape and architectural style when choosing the texture and finish.
- Color: Brick color is a crucial design element. Ensure the color complements your home and garden’s existing palette.
Conclusion
Brick landscape edging is a timeless and practical choice for enhancing the beauty and functionality of your outdoor spaces. Its durability, versatility, and aesthetic appeal make it a valuable addition to any landscape design. By carefully considering the design aspects, installation techniques, and maintenance requirements outlined in this guide, you can create a stunning and long-lasting edging solution that enhances the curb appeal and value of your property. Whether you opt for a simple dry-laid edging or a more elaborate mortared design, brick landscape edging is sure to add a touch of elegance and sophistication to your garden.

